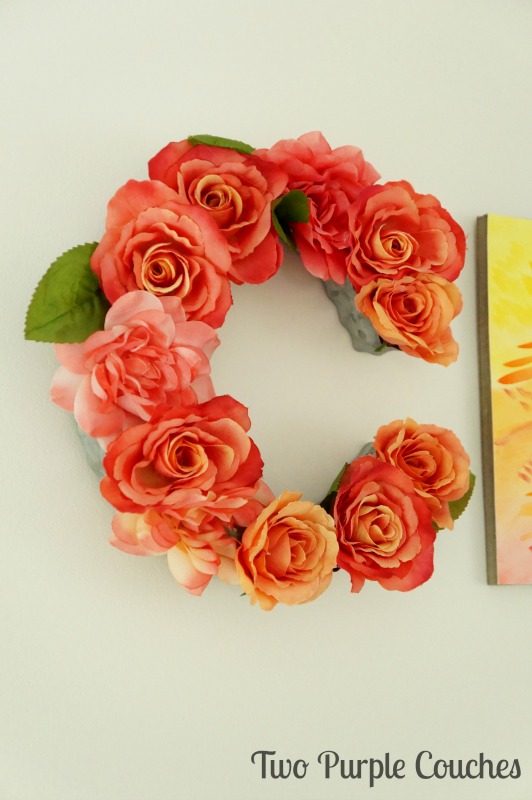
Floral monogram, floral initial, floral letter. How does that saying go? A rose by any other name would still look amazing when it’s turned into one of these decorative beauties?
If you’ve hopped onto Pinterest recently, you’ve probably come across a DIY floral letter tutorial or two. I’ve become quite smitten with the look, and when I decided to incorporate some word art into my craft room makeover, I knew I wanted at least one floral letter as part of the look.
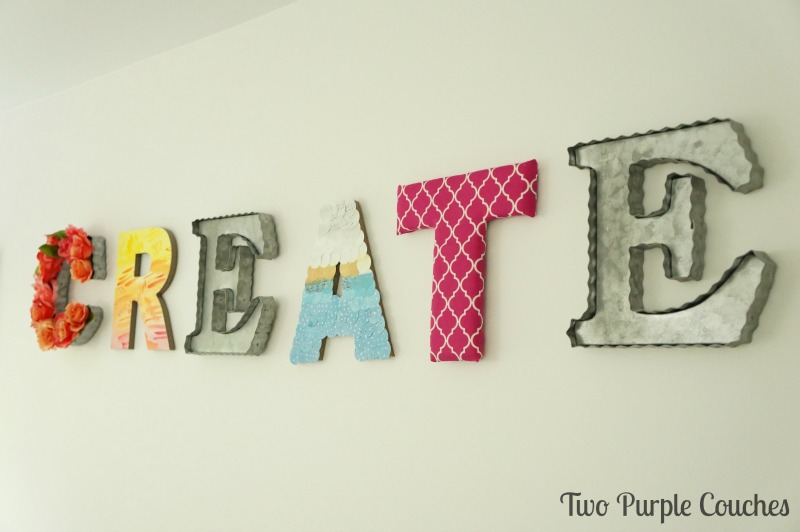
Honestly, I’ve been back and forth about how best to share the tutorials for all of these letters with you. While it would be convenient to put everything into one post, it might turn into the longest blog post ever written. Which no one, myself included, would have the patience to read (or write, for that matter). So I’ve decided to turn each letter project into its own tutorial and post, because on their own, these DIY letters make for pretty cool decor projects. What do you say we start at the beginning (a very good place to start!) and kick things off with the letter “C” and this DIY floral letter tutorial.
Several months ago, I happened upon a clearance aisle in Michaels that was full of chipboard letters. I had already been planning on spelling out “C-R-E-A-T-E” on one of my craft room walls, and this clearance discovery felt like kismet. Until I couldn’t find a single “E”—and I needed two! Well doesn’t that just figure!? But I wasn’t about to let this setback keep me from scooping up a bunch of letters for $0.79 each. I’d improvise, and a few aisles over, I found galvanized metal letters on sale for about $4. I grabbed two “E”s and made my way to the register. But once I got home and spelled out my word, I realized that the two metal letters made the word feel lopsided, so back I went in search of a “C” to even things out. Thankfully, I found one, and could finally start embellishing each of the letters.
To make your own DIY floral letter, you’ll need:
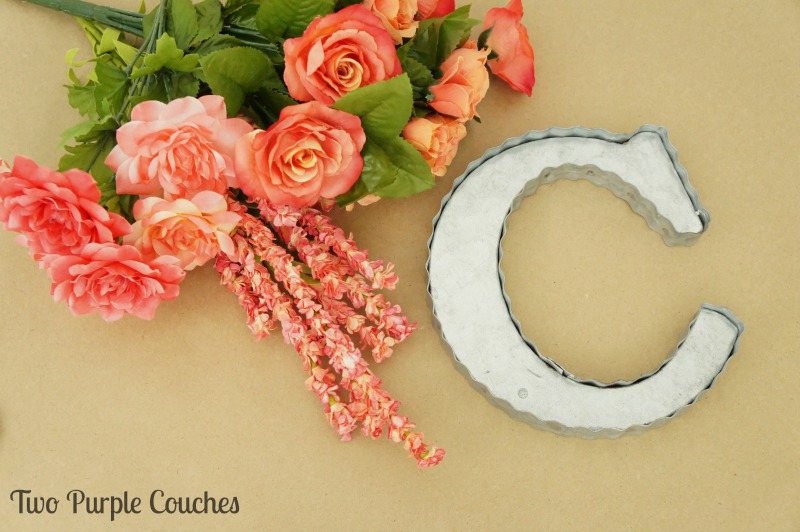
- Your favorite letter or monogram. I think it helps to have a more dimensional letter for this project, i.e. one with sides.
- Several bunches of faux flowers – they can be the same or different, a mix of large and small, a mix of colors or monochromatic—whatever floats your boat!
- Hot glue gun and glue sticks
How to make a DIY floral letter
Select the flowers you want to use. Try to include a mix of sizes, for instance, some opened roses and some smaller buds. Remove blooms from stems; they may pop off with a little tug, or use wire cutters to separate them.

Starting at one end of your letter, begin gluing down each blossom. Don’t worry about using too many or getting them too close together – this gives the finished letter a lot of fullness.
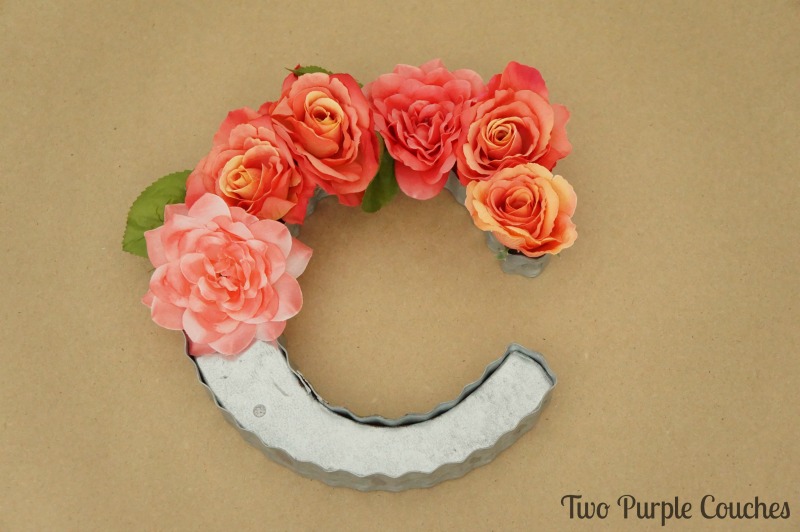
Once you’ve covered your letter in flowers, go back and add in a few leaves and smaller buds to fill in any holes.
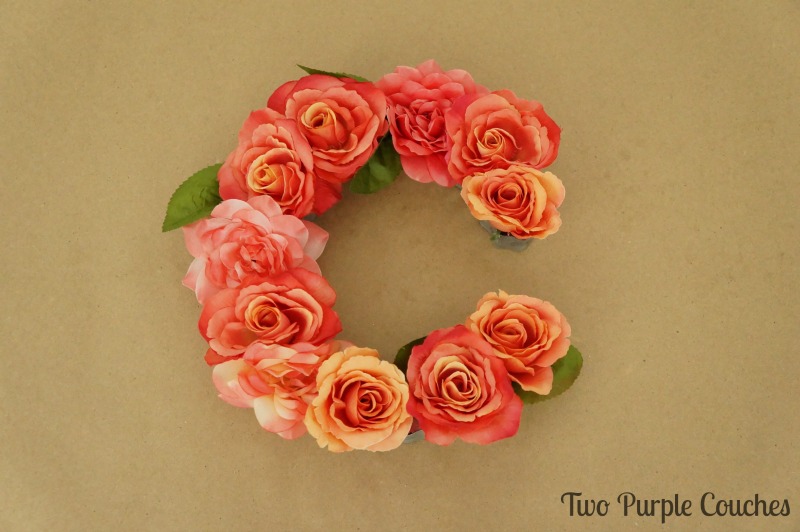
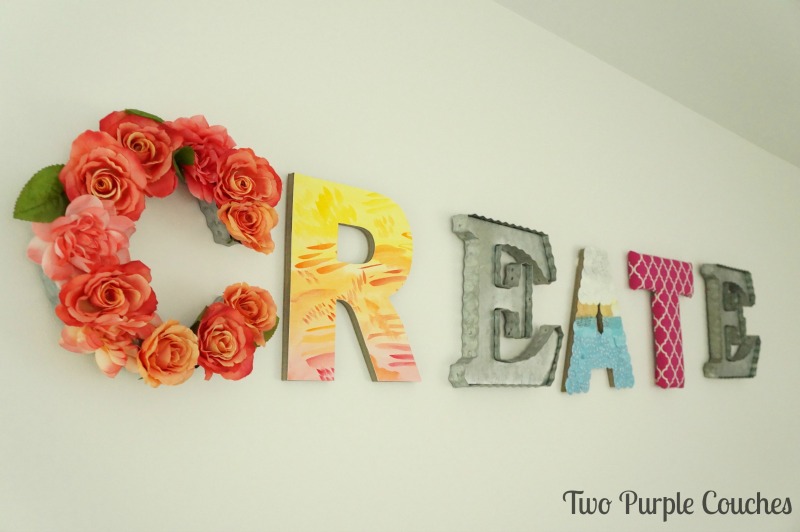
Now that I’ve completed my own floral letter, I have some pointers and tips that may help you. As you’re selecting your flowers, look for ones that have more of a cylindrical shape, like a rose. Flatter, wider blooms tend to fan out too much, plus if your letter has sides to it, like mine did, the flattened petals spill over the sides and it can be tricker to get them to stay glued down. It’s kind of hard to explain, but trust me on this one! I think flowers and buds with a tighter, more cylindrical shape create a better end look.
Well, it still feels like this post ended up being long, but hopefully you’re still with me, and hopefully you’re feeling inspired and ready to make your own gorgeous floral letter!

This is so pretty. Thanks for the share and the tips. Can’t wait to see how you made the others.
Thank you so much, Michelle!
Such a pretty, crafty idea! I love that you made each letter different, can’t wait for the rest of the tutorials!
Megan recently posted…Free Printable Checklist for the New Mom in Your Life
Thanks so much Megan!
Pingback: Plant DIYs to Get Those Spring Vibes - Inside the Fox Den
Pingback: Fresh and Bright Spring Decor Ideas - C'mon Get Crafty