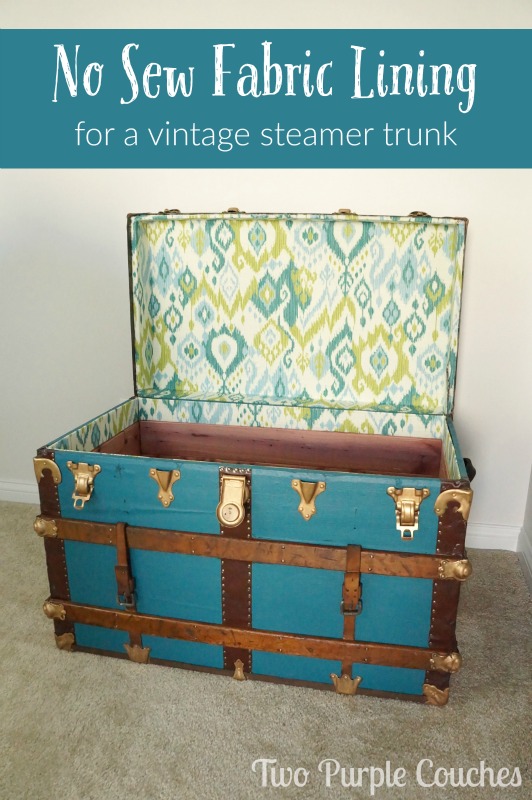
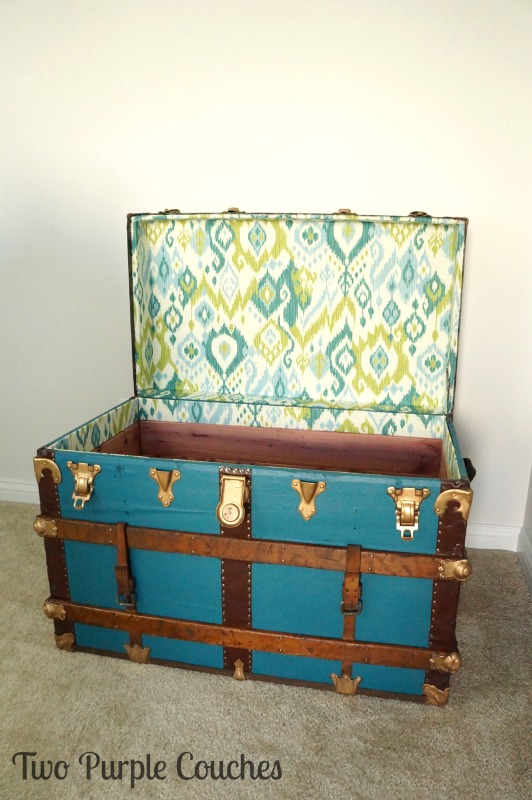
Every time I open the lid of this vintage steamer trunk, I can’t help but smile as I’m greeted by this incredible pop of color and pattern. And I love that it brings together something modern and trendy with something old and vintage. Juxtaposition is a beautiful thing.
While it sounds easy on paper, this no sew fabric lining posed some challenges. But I pushed on, and today I’m going to share the tips and tricks I learned, in hopes that you’ll be able to line your own vintage trunk with ease!
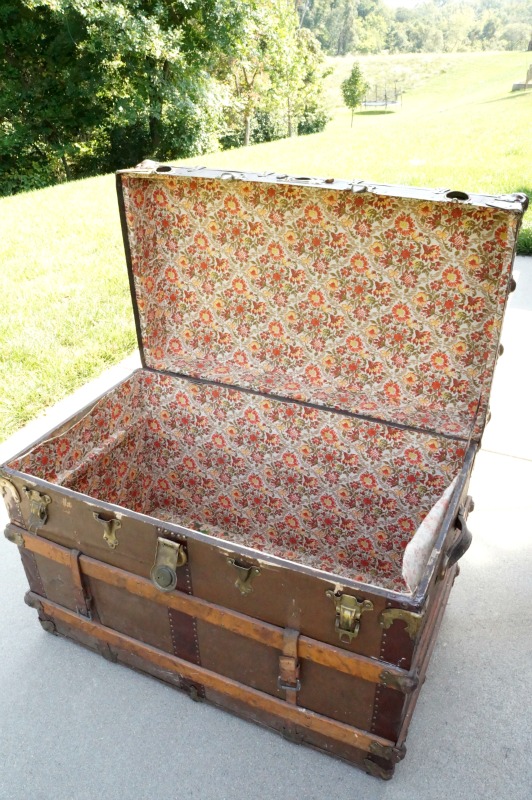
I gotta say, when I ripped the 1970s floral fabric out of this trunk, I had no intention of putting fabric back in. But after debating the best way to treat the lid, fabric seemed to be the best option. And I had just the swatch sitting in my stash.
I purchased a yard and a half of Swavelle/Mill Creek Gunnison Grasshopper ikat fabric several years ago, intending to make throw pillows out of it for our bonus room. But it turns out that it serves a much better purpose as a (no sew!) fabric lining for the lid of my vintage steamer trunk!
As I said above, this phase of the trunk makeover process wound up being a huge pain in the youknowwhat. The fussiest part of putting the fabric in was lining up all of the edges and corners—this part is very tedious, so having an extra set of hands (and eyes!) to help out is highly recommended. Thankfully the hubs was willing to help out on this phase, too.
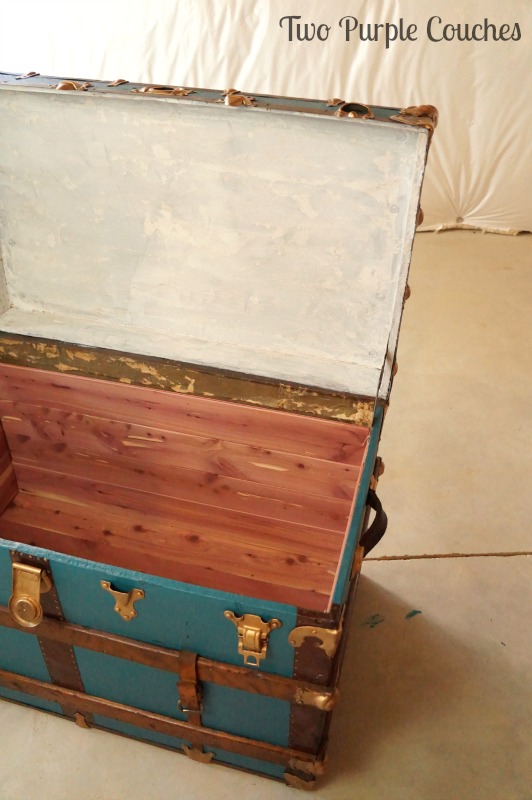
Before I got started, I painted the lid with one coat of Kilz primer to get rid of any residual musty smells:
The it-sounds-easy-on-paper no sew fabric lining instructions go like this:
Measure the total length and width of fabric needed. Be sure to include the sides of the lid *and* the small edges of each side.
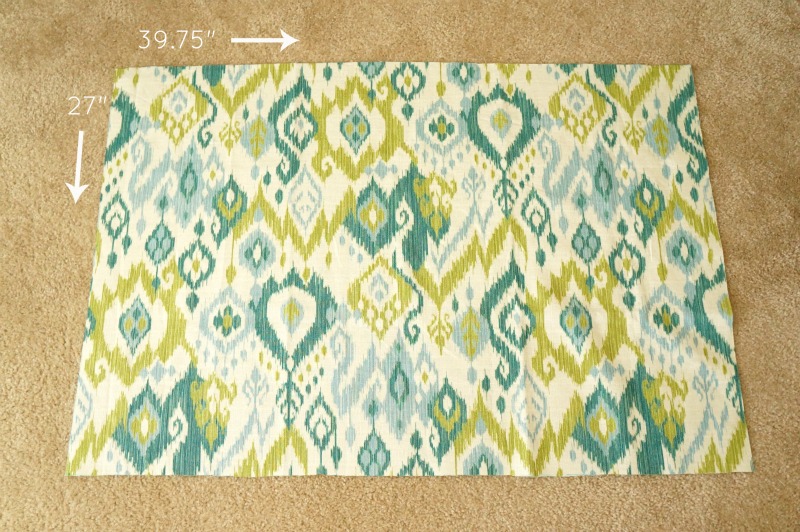
I found it easiest to measure the interior of the lid, then add the measurements of the sides and the edges. According to my measurements, I needed to cut a rectangle of fabric that was 39.75” by 27”.
But somewhere along the line, I must have goofed while I was cutting, and my rectangle wasn’t wide enough to fit across the lid. This ended up being a sort of blessing in disguise, though, because the hinged side of the trunk needed special treatment so that the hinge can still do its hinge-y thing and open and close properly. More on that in a minute.
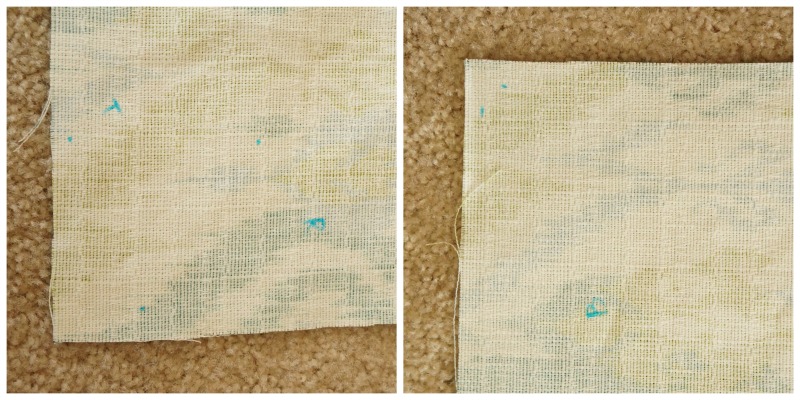
Once the rectangle was cut, I flipped it over and measured in for the edge and the side, making small dashes with a fabric marker. My intent was to give myself guides, making it easier for me to line up the fabric in the right spot before attaching it with spray adhesive.
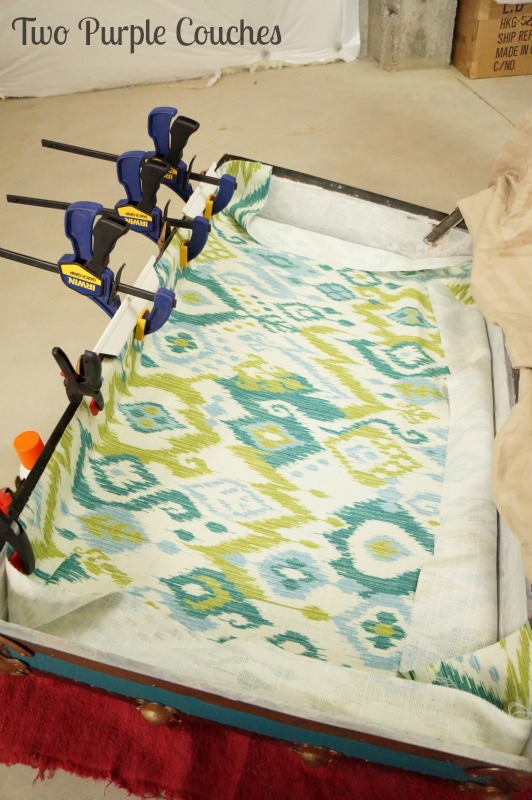
We laid our trunk on its back—it was much easier to work with the lid on the ground versus fighting gravity to line the lid with the trunk standing up. Lay the fabric inside the lid, lining up the dash marks with the edges and sides. Use clamps to hold the fabric in place.
Roll one side of fabric away from the trunk and spray a light layer of the adhesive onto the trunk lid, according to the directions on the spray adhesive can. Then slowly begin laying the fabric in place, smoothing out any wrinkles or bubbles. Use an old credit card or gift card to help smooth over the fabric.
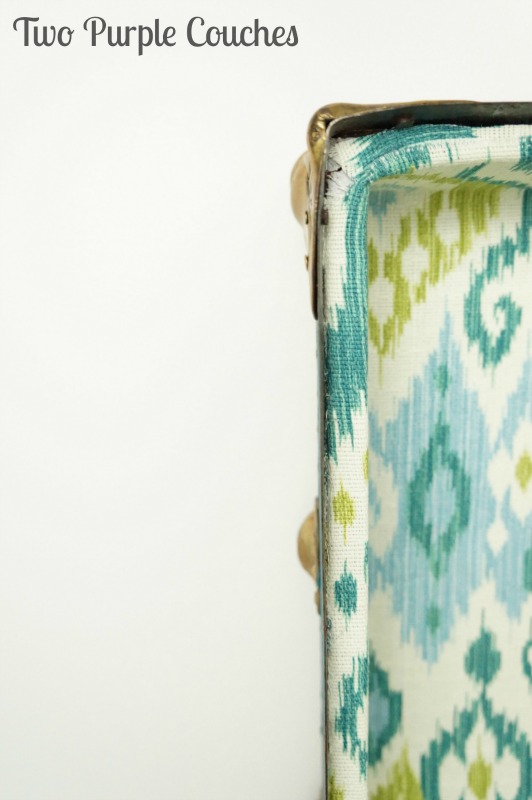
We worked in sections, and actually found it easier to do the large, flat portion of the lid first, and then work our way up the sides and out to the small edges. Having an old credit card or gift card was especially helpful for these small edges. I even used one of my Silhouette scraper tools to try to tuck the fabric between the edge and the metal band of the lid.
For the side with the hinge, we overlapped two pieces of fabric. We cut a smaller strip, about 3″ wide and 19″ long, and attached this along the edge, wrapping it over to the side and sliding it behind the hinge. Then we glued down the larger piece of fabric over it. But we left a buffer to the right of the hinge, creating a sort of pocket so it would have enough room to collapse as the lid is closed.
I was having issues with my fabric raveling along the edges where I’d cut it. Once the fabric liner was finished, my mom recommended putting a bead of Fray Check (from Dritz) around the edges to help keep the fabric from raveling.
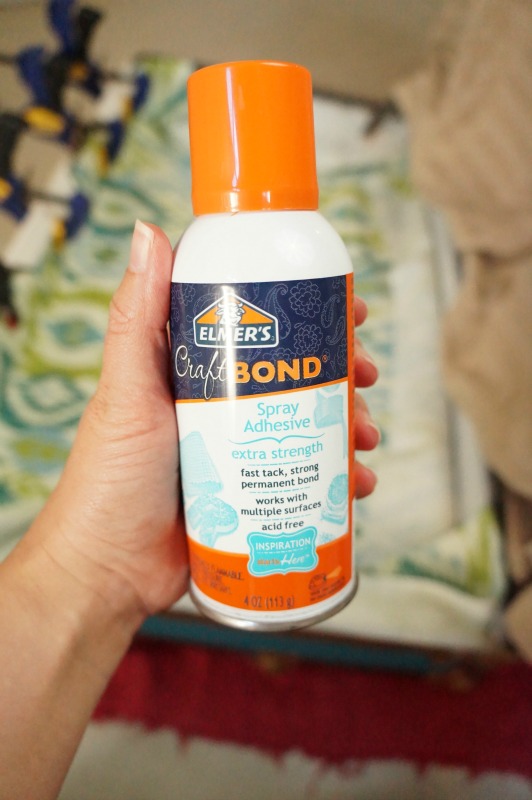
I had considered using hot glue, fabric glue or Mod Podge to adhere the fabric to the lid, but ultimately decided that spray adhesive would be easier to control and would provide a better bond without leaving my fabric sopping wet. I bought this can of Elmer’s CraftBond Spray Adhesive at my local JoAnn Fabrics.
I think I made the right choice, but, if you’ve never worked with spray adhesive before, beware that this stuff is s-t-i-c-k-y. If you get it on your fingers, everything will cling to you a-la Clark Griswold’s sap-covered fingers in Christmas Vacation. This is especially unhelpful if the edges of your fabric begin raveling. I should have taken a picture of my thread-covered hands, but I didn’t want to get adhesive all over my camera!
One tip – I found that if I gave the adhesive 5-10 seconds to soak into the trunk lid, it became just the right amount of tacky for the fabric to bond to the surface. If I tried to smooth the fabric on immediately, it wouldn’t stick right away.
And that, in a nutshell, is how to add a no sew fabric lining to a vintage trunk! It took the hubs and I about 3 hours to do this project. I was hoping for an hour or less—ha! One of these days, I’ll learn to be more realistic about tackling projects like this! (wink)
Want to see more vintage trunk makeover goodness? Check out these posts:
Sharing with: Work It Wednesday



This turned out beautifully Emily! I love the fabric lining , paint color and the cedar you added as well. Awesome job!
Thank you so much, Lauren! It was a lot of work, but I am so happy with the outcome!
aHi Emily: I love your trunk makeover! You have inspired me to tackle my own and I even have fabric similar to yours, which I will use as the liner. Great job and thanks for the inspiration! Best wishes, Hannah
How is it holding up? Would you suggest shellacking the fabric? Modpodge? I need to use fabric on the bottom of my trunk and want the whole thing to be pretty resilient. Any ideas?
Thanks!
Hi Emily, the fabric lining is holding up fairly well. Mine is on the interior lid, and as I’ve had the lid of the trunk closed, gravity has pulled some of the fabric away from the center of the lid, so it’s baggy when I open the trunk. I don’t think you’d have this issue with fabric on the bottom of a trunk, though. And I don’t think it could hurt to add a layer or two of fabric Mod Podge over it to secure and seal it. I am thinking of doing something similar with mine. Hope this helps!
How did you attach the fabric to the inside of the trunk, above the cedar? I thought in the other post you said something about wrapping cardboard? I was planning to do a very similar makeover to my old steamer trunk, but I hadn’t considered using fabric – I was planning on doing decoupage which is extremely easy to do and looks fabulous. My trunk is pretty beat up, so I think your idea of lining the lid with fabric AND modge podge would be a fantastic solution for me.
Yes, I cut a few pieces of cardboard to fit the space between the last cedar plank and the edge of the trunk. I wrapped these pieces in fabric and I believe I glued them down with Liquid Nails so they’d be pretty secure. Decoupage would be a great interior treatment as well!
Why don’t you try using pre pasted wallpaper. I hung paper perfeshonally for years & to do a trunk is the same thing only a lot more corners myself being a perfectionist I enjoyed and have had a lot of fun with them , I have done approximately 12 of them and I have mastered how to do it. Shullbrolln2@gmail.com
I love your trunk! Very well done. I just bought one at the swap meet and would like to do something similar. I have some contact paper that I’m thinking of using to cover the inside of the lid – where you used fabric. How do you think this might work? Do you have any suggestions for prep? Thanks so much.
Thank you Claudia! I would think contact paper would work well. As for prep, I would make sure that it’s clean and free of loose dirt/particles to help the paper adhere better. You could also try a coat of Mod Podge over the contact paper to seal it in once it’s been applied. Hope this helps! Good luck! I’d love to see your trunk when you’re finished!
I’m redoing a trunk but mine isn’t cedar lined so I’m covering the entire bottom as well. (And the lift-out shelf…which I expect will be interesting.) I like how you didn’t cut your fabric but I’m curious how you made the short sides fit. Did you cut V’s for the corners or fold and tuck them somehow?
Hi Paula! For the corners, I folded the fabric and used extra spray adhesive to get it to lie flat. I had to work with it a bit to get each corner to be smooth; trimming away some excess fabric would probably work as well.
That was very helpful. I just acquired a thrift store trunk I plan to redo. Wasnt sure about the inside. My original thought was wall paper or to modge- podge some decorative paper I have in my supplies. Now I think fabric would be a better choice. Thank you much. You did a great job on the trunk too.
Thank you so much, Dee! Good luck with your trunk project!
Your trunk looks beautiful and you did a wonderful job! I love the outside color and the fabric! I’ve used fabric on the inside of a trunk before and am about to start a new one, but couldn’t recall the best way to do it. Your post is extremely helpful!
Thanks so much, Amy! Good luck with your trunk makeover!