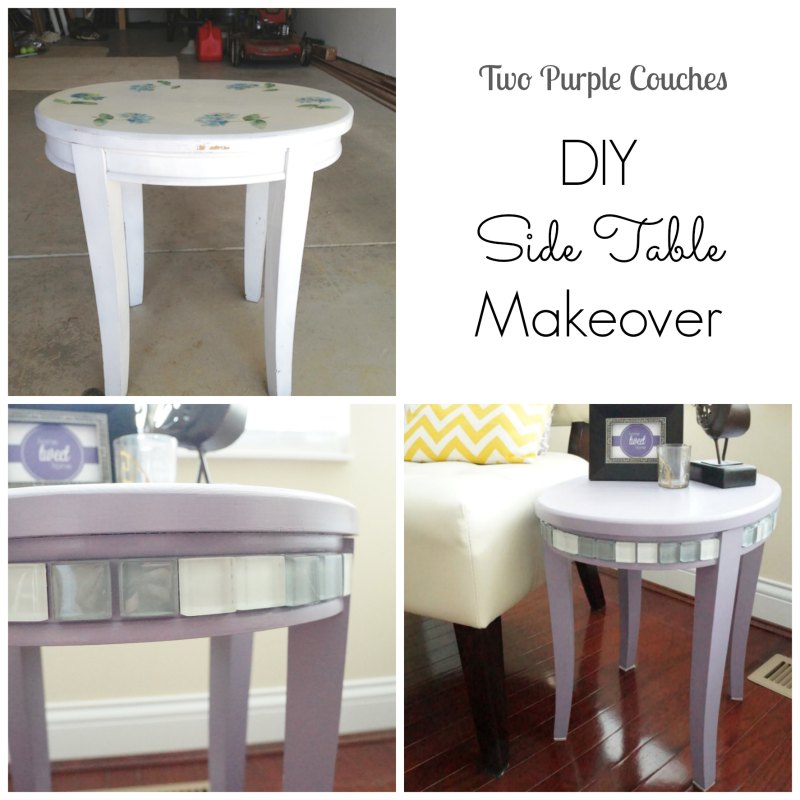
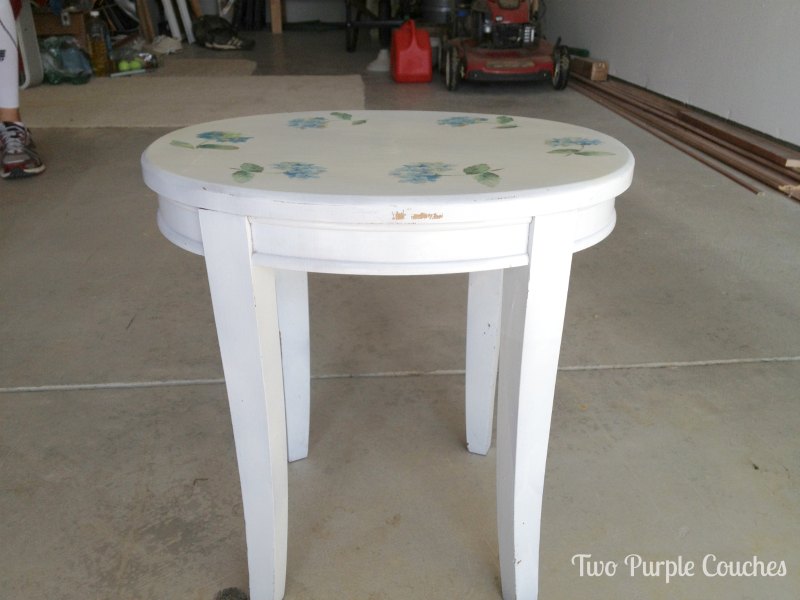
You might remember that a few weeks ago I bought a small oval table at the Burlington Antique Show. With some, ahem, slightly outdated blue hydrangea stickers on the top, it wasn’t our style. But I liked the shape, and the size was a perfect fit between the two ivory chairs in our family room. So what better way to make it work than to whip up a diy side table makeover?
I assumed this would be a pretty easy project – just sand down the surfaces a little bit, paint a coat or two, add the mosaic tile and boom – we’d be done. Not. So. The darned hydrangea stickers were stuck good – underneath a few layers of some kind of lacquer / sealer. So after a good 10-15 minutes of furious sand-papering, Tom and I needed a new method of attack. Thank goodness for utility knives! We were able to cut through the layers, get to the stickers and peel all of it off the top of the table. The good news is that only the top was covered with this lacquer-sealer, so we were able to rough up the legs with sandpaper and not have to scrape off every. last. smidge. of paint with a utility knife.
Once we got all that junk off, the painting part went down pretty quickly. With a lot of awkward half-lying on our garage floor to get the backs and sides of the legs. Sorry, there’s no photo evidence of this.
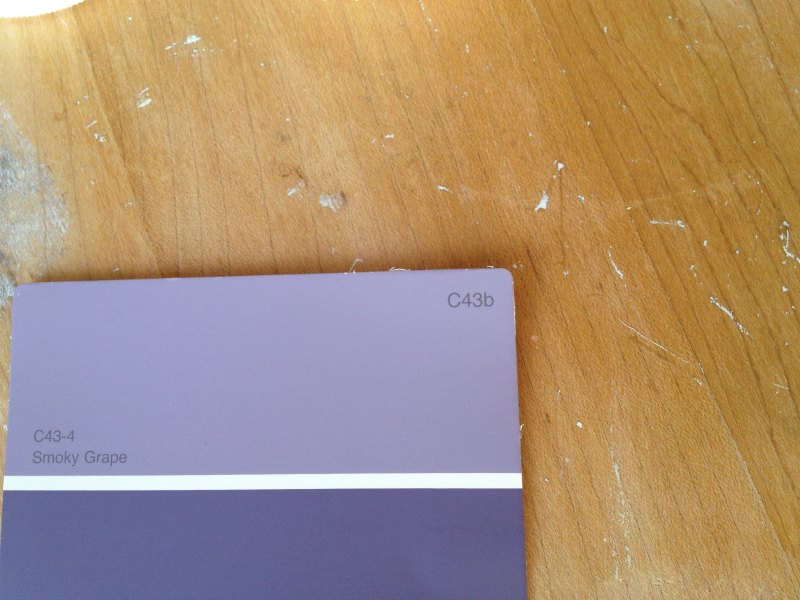
We chose Smoky Grape by Olympic. We got a sample size (8-oz), which was more than enough to cover the table with two coats.
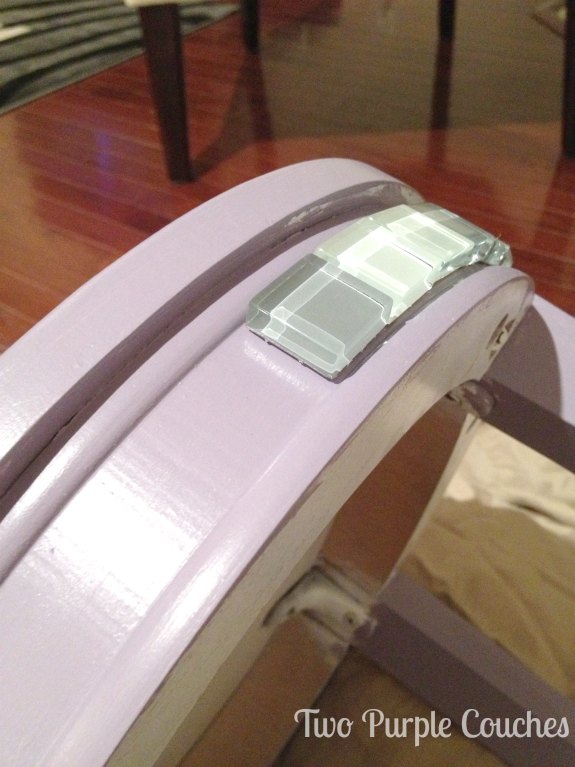
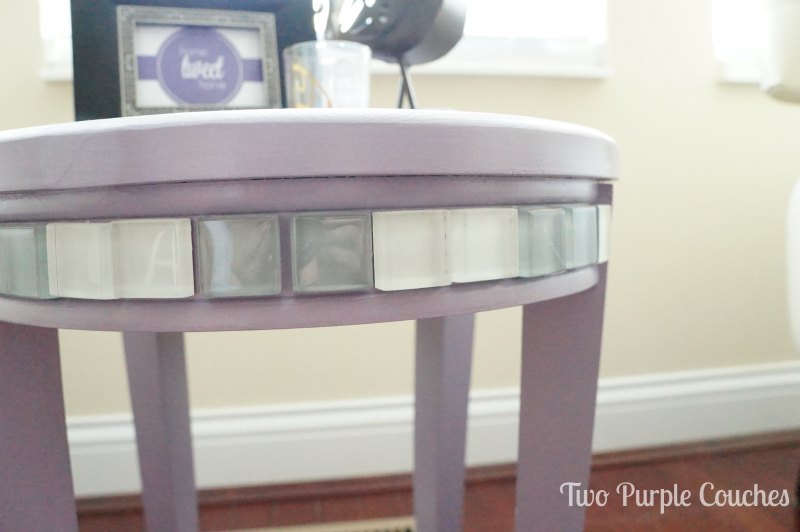
Once it was dry, it was ready for some bling-bling, in the form of small mosaic tiles.
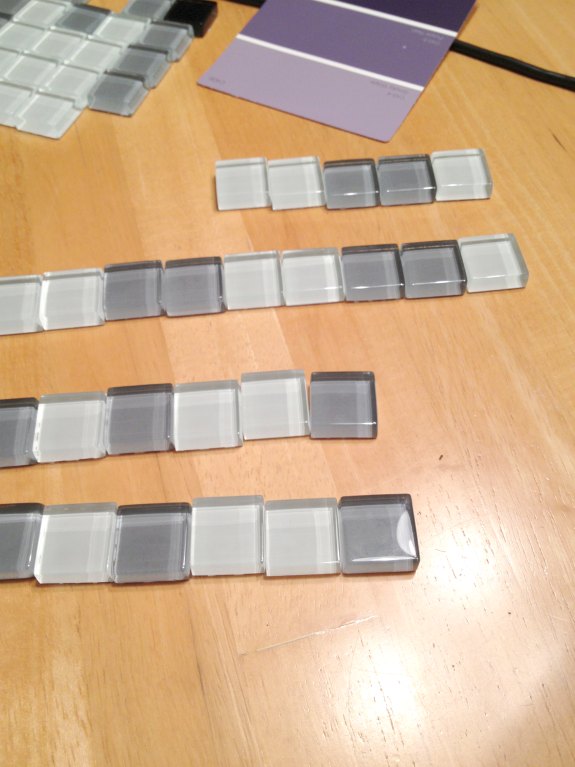
We hand-peeled each tile off of the backing sheet because we wanted to be able to apply them one-by-one, and were afraid that the backing might show on the edges if we cut them out. Plus it gave us the opportunity to play around with what sort of pattern we’d like best.
I broke out my trusty hot glue gun to secure them down.
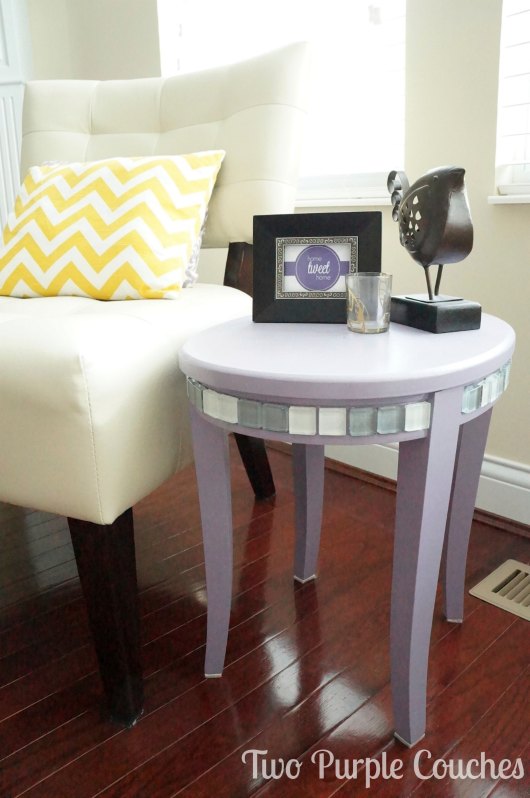
Aaaaaand, the finished product! What do you think? I think she cleaned up pretty good!
Cost Rundown:
$28 for the table (I am a bartering machine… erm, I mean, it was the end of the day and I got a whopping $2 off)
$2.98 for an 8-oz paint sample
$8.97 for one sheet of mosaic tile
For a grand total of $39.95*
*But wait! There’s more! We also bought a paintbrush and sand paper, but I’m not counting that in the total project cost because we will use these items again. So let’s pretend we already had them on-hand.
I’d say that’s not too shabby. Especially considering I haven’t been able to find a similarly-sized table in stores or online for less than $60 at least. And it’s got a pretty unique embellishment. Whoo! A successful first foray into DIY and re-purposing!
**Update: Did you know that this project was printed in HGTV magazine’s July/August 2013 issue?!? Yeah! No joke! You can read about it here.


It’s beautiful!!! I’ve always wanted to try working with tiles. Maybe this will give me the courage to go for it! 🙂
Thank you! I was really nervous to glue the first ones on!
Great DIY project! The side table came out really well! You made it look so easy to do, but I’m sure it was a lot of hard work. How long did it take you?
Thank you so much! It took longer than I expected, but that was mostly because we had to scrape the top off of the table. The whole project probably took a total of 5-ish hours, and we took multiple days to do it – first day we scraped and painted the table, and a few days later did the mosaic tile trim.
Pingback: I’m Kind of a Big Deal | two purple couches
Pingback: DIY Upcycled Jewelry Organizer | two purple couches
I’m still in awe of this dramatic transformation! The tile you chose is so bling-tastic…and you know I love the purple! Congrats again on the HGTV magazine feature. So proud of you, girlfriend!
Lauren @ The Thinking Closet recently posted…5 Tips for a Successful Wedding Photo Shoot
Aww, thank you so much Lauren! You’re such a sweet friend 🙂