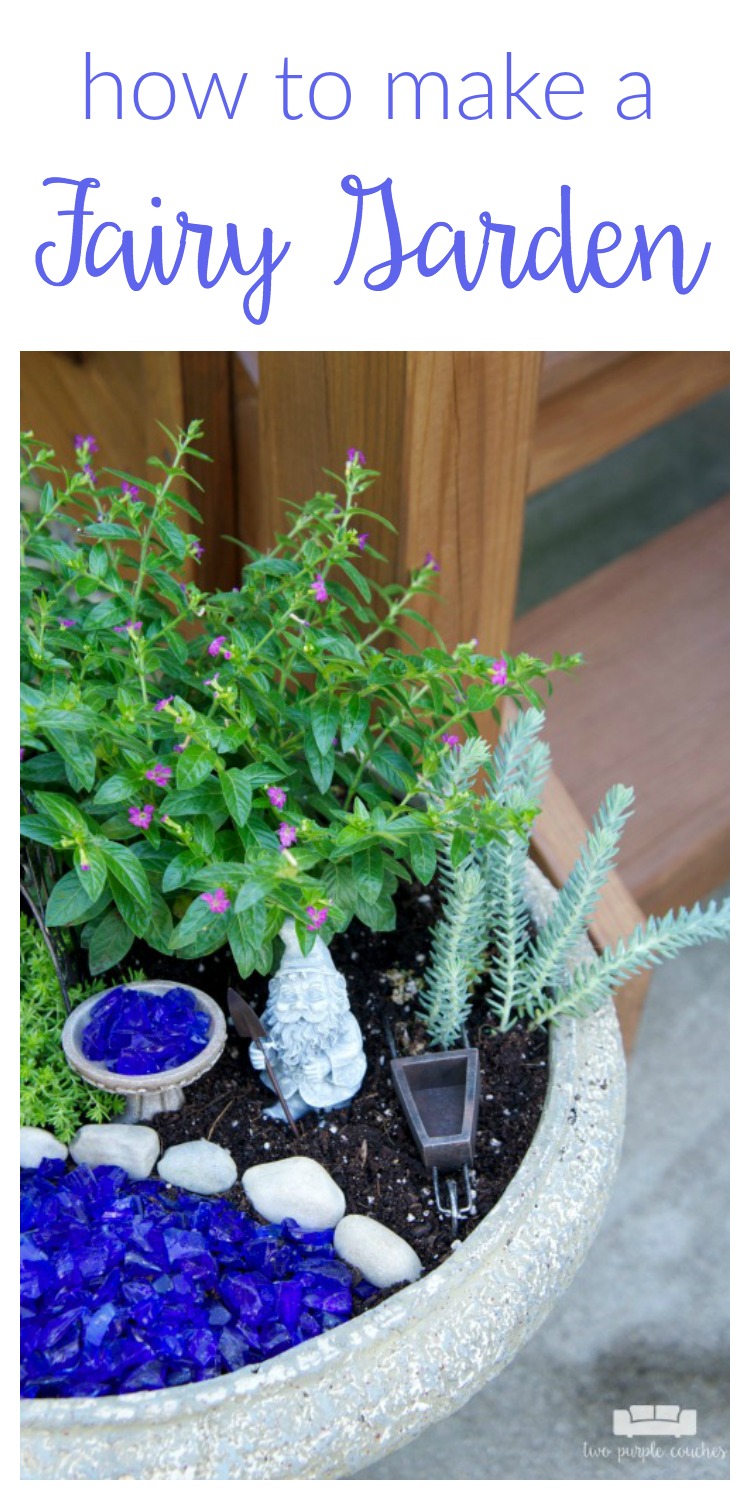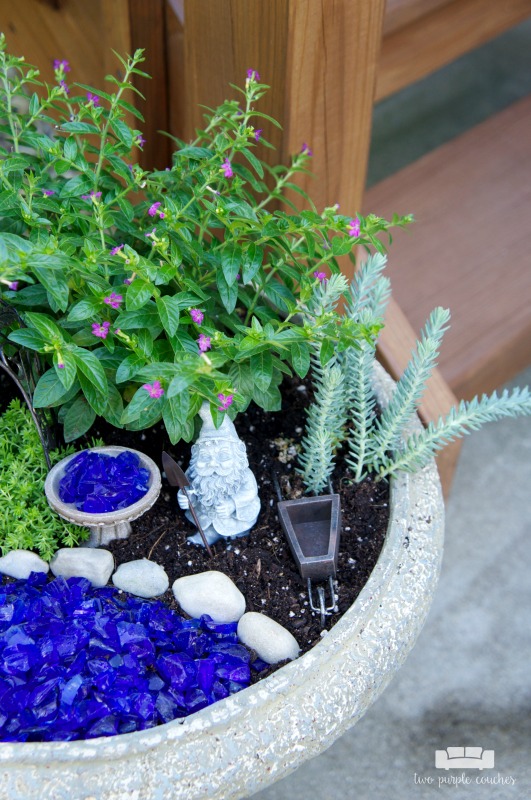
A fairy garden adds a sweet touch of whimsy to your outdoor spaces in the summertime. And the best part is they’re fairly simple to create. All you need is a container, easy-to-care-for plants and a few fairy garden accessories!
I realize that the fairy garden trend has been going strong for several seasons now and that I’m late to the party. In my defense, I’ve been wanting to create one for years, but never got around to buying the supplies. Well, my cousin read my mind and got me a kit for Christmas! All I had to do was pick up a few plants from the nursery and assemble my fairy garden—or in my case, a cute gnome garden.
This post contains some affiliate links for your convenience. Click here to read my full disclosure policy.
How to make a fairy garden
Materials Needed:
- Fairy garden kit
- I have this Echo Valley Gnome Garden Kit, but this one and this one would also be great to get you started.
- Outdoor container (medium to large size)
- Potting soil
- Glass pebbles or mini river rocks
- Plants, herbs or succulents of your choice
Tutorial:
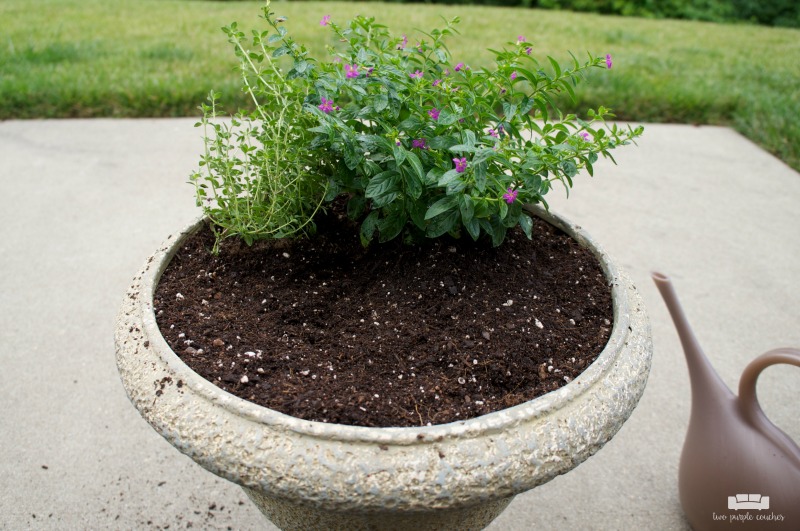
1.) Begin by filling your container almost-full with potting soil. You’ll need to shift the soil around to add your plants, and you might want to keep some extra soil on-hand to level off your fairy garden when you’re finished.
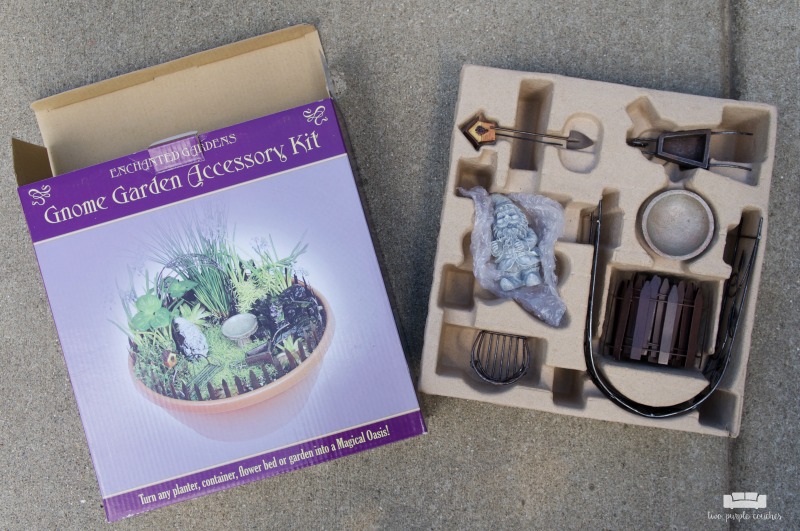
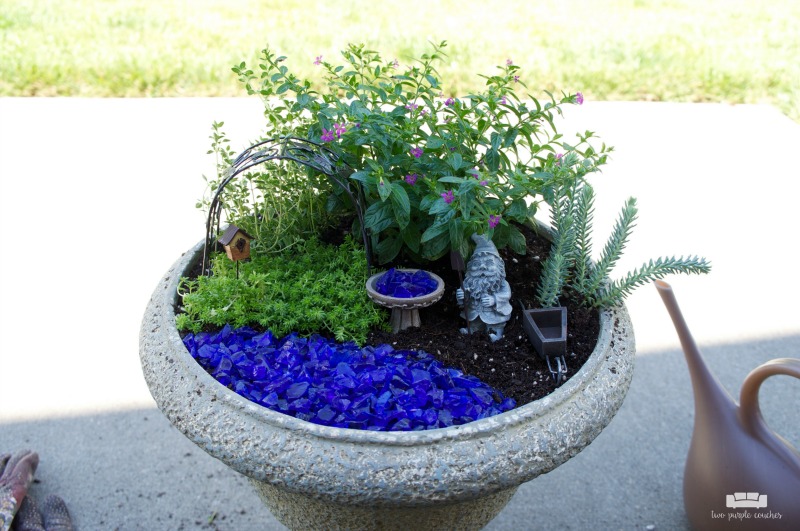
2.) Plan your fairy garden. If you purchased a kit, take out the pieces and think about how you want to set up your scene. The Echo Valley Gnome Kit has a gnome, arbor, birdhouse, birdbath, wheelbarrow, shovel, chair and fencing. I bought a bag of crushed blue glass to represent water.
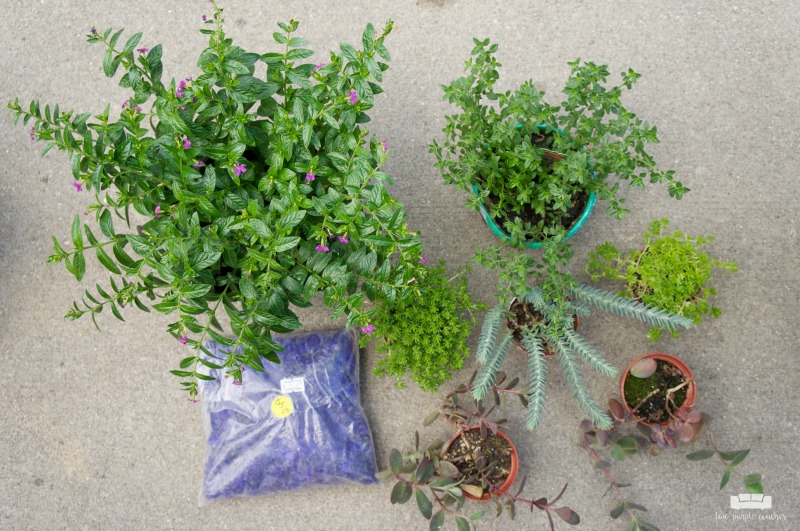
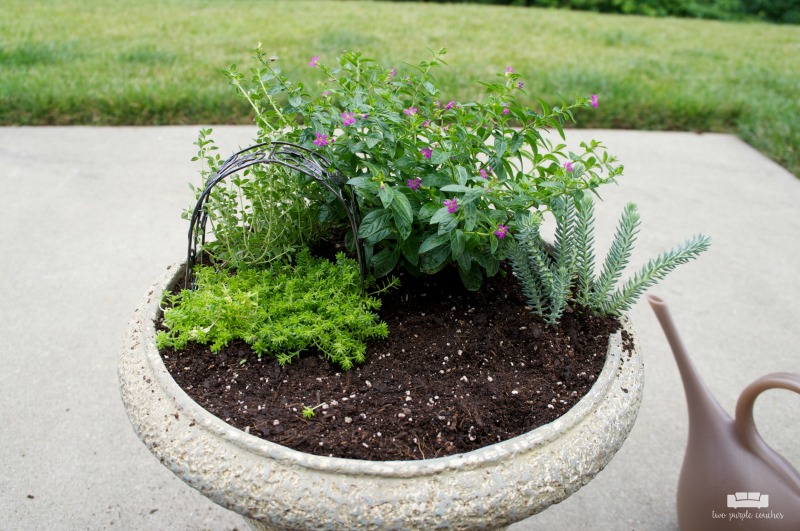
3.) Add the plants*. I like to work from the back of my container to the front. I added the largest plants – one pot of Mexican Heather and one pot of Lemon Thyme – to the back.
Then I added a small succulent that reminds me of an evergreen and two small plants that remind me of grass.
4.) Add crushed glass or river rocks to create hardscapes. I used my crushed glass to create a small pond in one section of my container and then added the rest of my gnome garden accessories to create my scene. I didn’t end up using the chair or the fencing – I’ll save these for next year’s fairy garden!
*A note on types of plants: If you’re not sure what to get, many nurseries and garden centers now have sections devoted to fairy gardens. The box of my kit even had a recommended list of plants to use. I bought a mix of flowering plants, herbs and succulents. This may not turn out to be the best combination, but I am experimenting! I love the idea of an all-herb fairy garden because you can use the herbs throughout the season. Succulents are great because they’re fairly low-maintenance. While the Mexican Heather I chose is more of a traditional annual, I liked the small flowers for a splash of color. If it spreads too much and gets too big, I may need to repot it elsewhere.
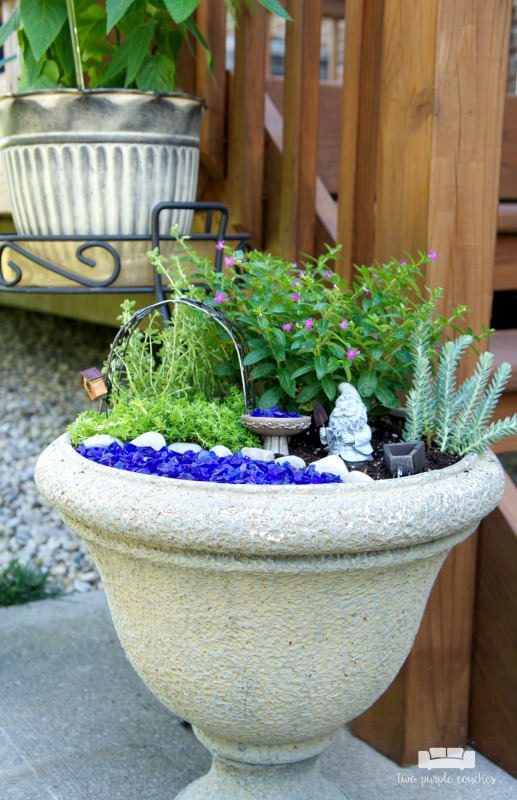
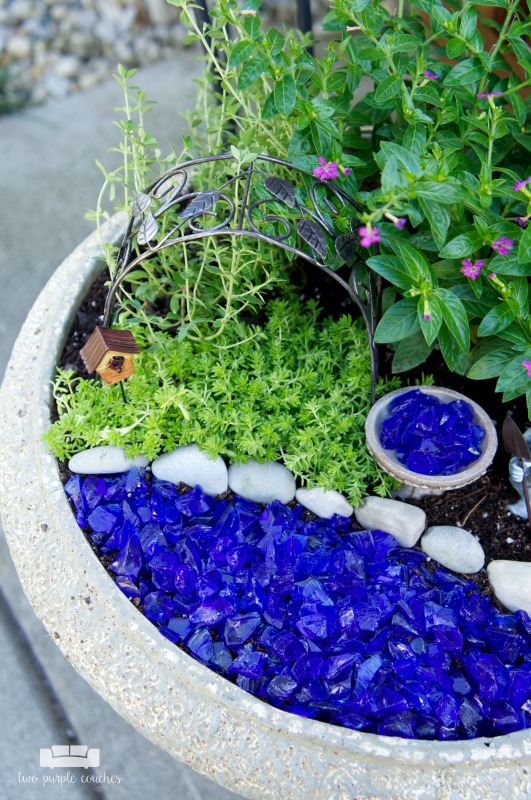
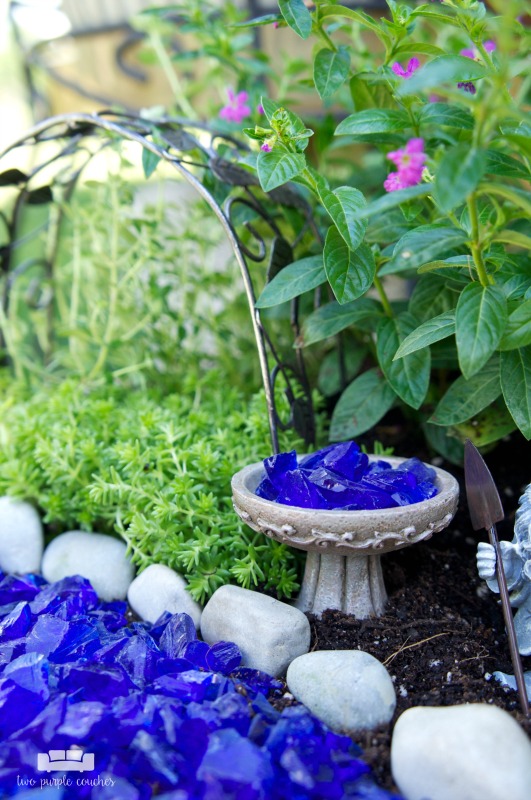
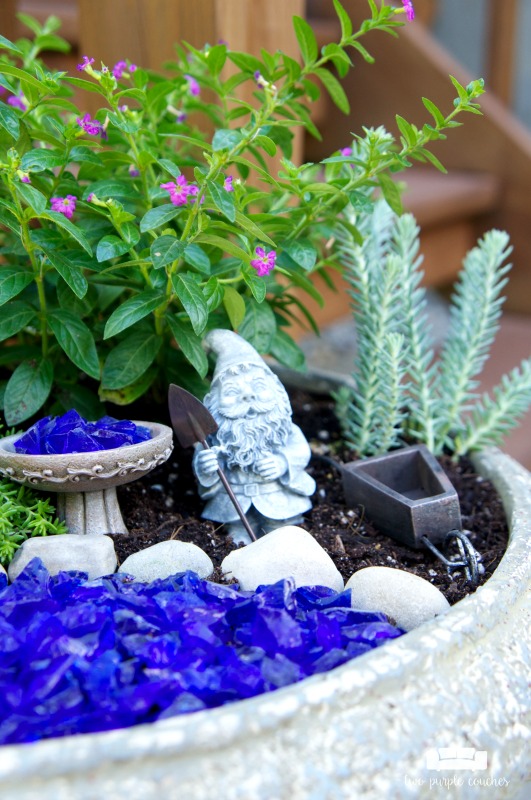
Creating this gnome/fairy garden was an easy DIY that only took me about 20 minutes. I love the whimsy it adds to our patio, and I also love that I can rearrange or remove some of the plants if need be.
Love this? Don’t forget to pin it!
