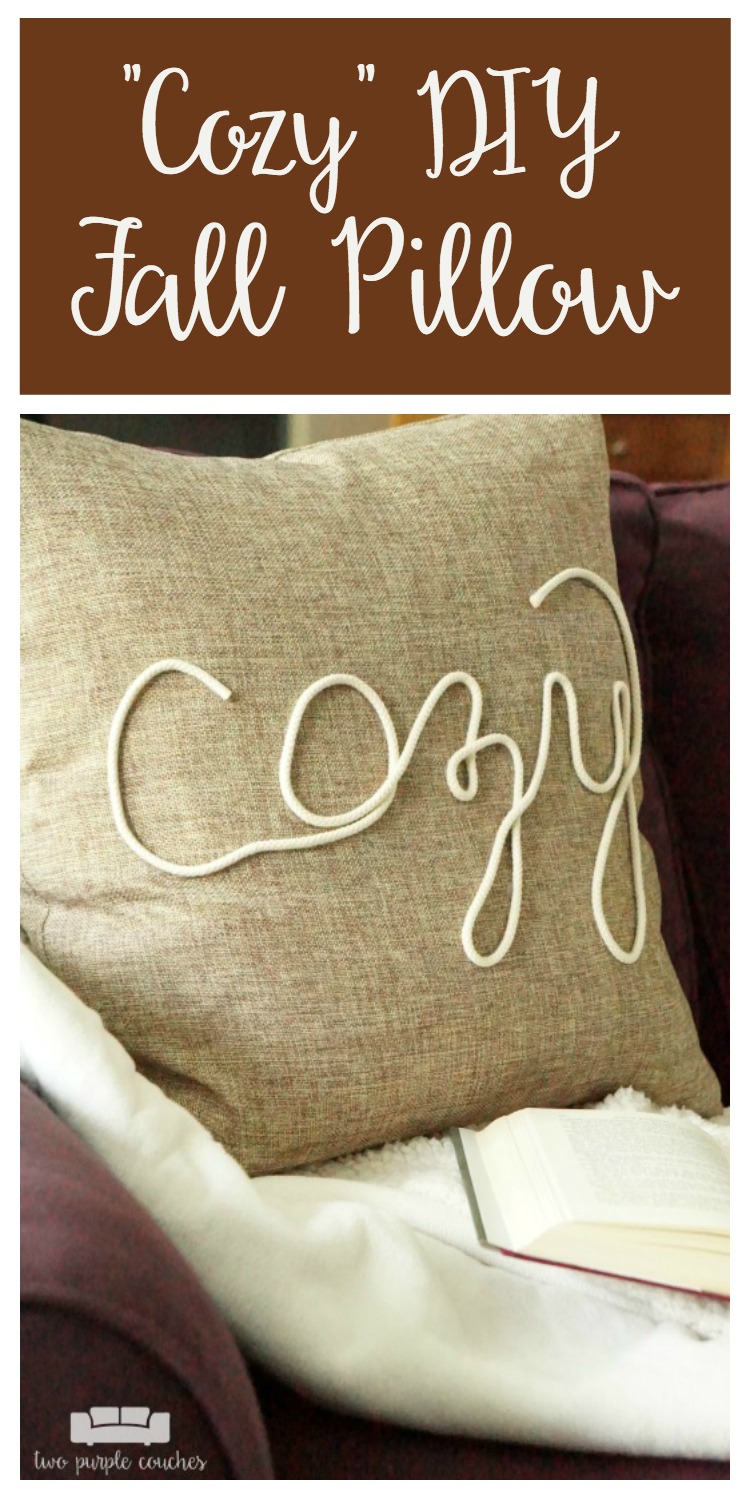
This DIY Fall Pillow is the perfect no sew idea for neutral decor with a farmhouse flair. Learn how to create your own “cozy” pillow cover with rope trim!
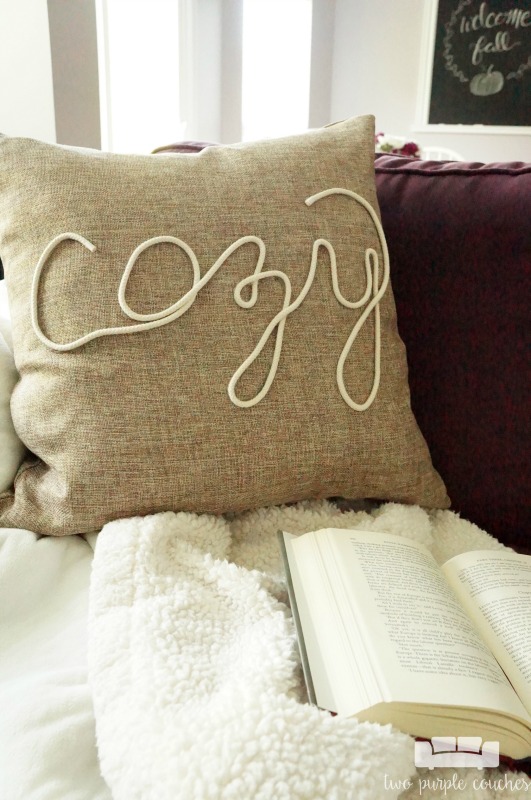
DIY Fall pillow projects are some of my favorite to brainstorm each year. There’s something about the idea of finally cuddling under a warm blanket that gives me the itch to change up my throw pillows. And with that itch comes the urge to make some myself and give them a personal touch.
I love throw pillows, and I would guess lots of you are nodding and agreeing with that statement. Throw pillows are one of the easiest ways to change out your decor for each of the seasons. You can buy or DIY, which gives you the option to personalize them however you please! You can also add embellishments to plain store-bought pillow covers. If you saw my fall home tour last week, you saw this cute pillow, and today I’m going to show you the simple technique I used to create this “cozy” DIY fall pillow.
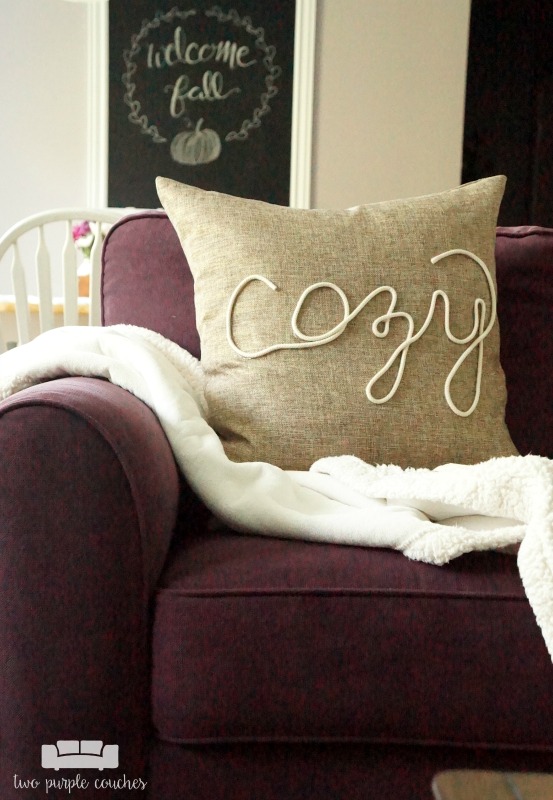
Whenever I get in the mood to change up my pillows, I start with plans to make a whole bunch of covers myself. A few weeks ago, I was all gung-ho about sewing up a pile of new pillow covers… until I stopped by HomeGoods with my mom one afternoon, and promptly threw three pillows into my shopping cart.
One of the pillows was covered with a plain tan linen, but all the way home I was hatching a plan to add a word to it. Instead of paint, I wanted something with dimension. A quick run to the fabric store and I found exactly what I wanted – cotton bolo cord. It’s easy to bend and shape, and I knew it’d be perfect for embellishing my DIY fall pillow.
This post contains some affiliate links for your convenience. Click here to read my full disclosure policy.
How to make a “Cozy” DIY Fall Pillow:
Materials
- Plain pillow cover (similar options here)
- Cotton bolo cord
- I used about 2 yards of 3/16″ wide cord
- Hot glue gun and glue sticks
- Water soluble marking pen
- Cardboard
Tutorial:
1.) Remove the insert from the pillow cover and place a piece of cardboard inside. (This is so you don’t wind up with hot glue bleeding through to the other side of the pillow cover). Using a water soluble pen, lightly write out the word “cozy” (or whatever word you like) on the front of the pillow cover.
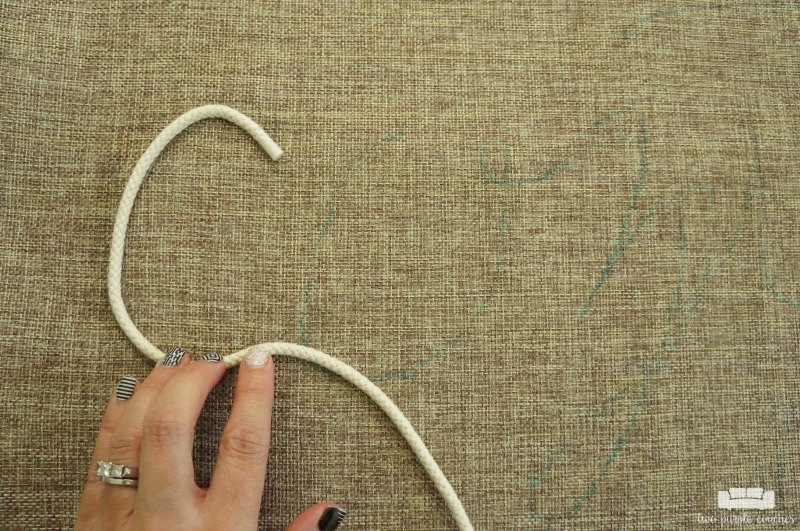
2.) Add a thin line of hot glue along the “C” and start attaching one end of the cotton bolo cord. Work in small sections, letter by letter, so you have better control over the cording and can place it where you want it. Note: forming the “o” was a little tricky; I played around with the placement of the cord a few times before adhering it with hot glue.
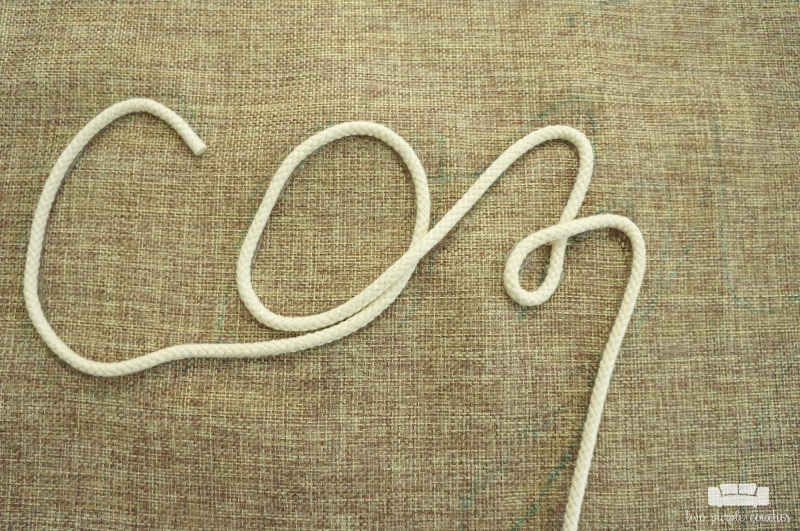
3.) Continue along the rest of the pen sketch until your word is complete. If you have more cording than you need to finish the word, wrap a piece of clear tape around the cord before you cut it – this will keep it from fraying and unraveling. (I used all of the 2 yards of cord on my pillow cover).
4.) Once the glue is dry, remove the cardboard. If you can see some of the pen markings, go over them with a damp cloth to remove them (that’s the beauty of water soluble pens!). Stuff an insert inside the cover and your “cozy” DIY fall pillow is complete!
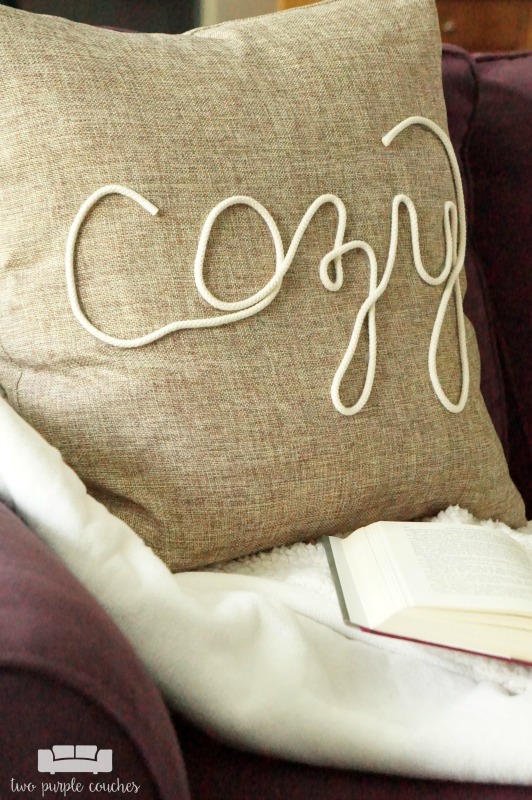
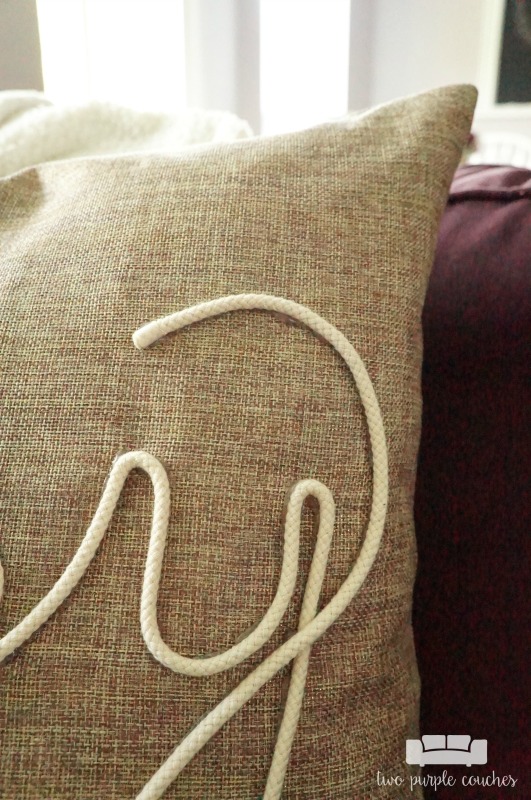
I am really pleased with how this turned out, and I love that I can display it for fall and winter! Getting extra mileage out of my seasonal decorations is definitely a win-win in my book.
Love this? Don’t forget to pin it!

Pingback: Creative Spark Link Party #121 - two purple couches
This is so clever! I love it!
Thanks Tiffany!
Pillows are such an easy way to update the home for each season. I love the that you added some dimension with the cording.
ERLENE AMAT recently posted…Halloween Food – Giant Marshmallow Pretzel Bone Dessert
Thank you Erlene!
Pingback: Cute Throw Pillows That You Can DIY or Buy! | Designer Trapped