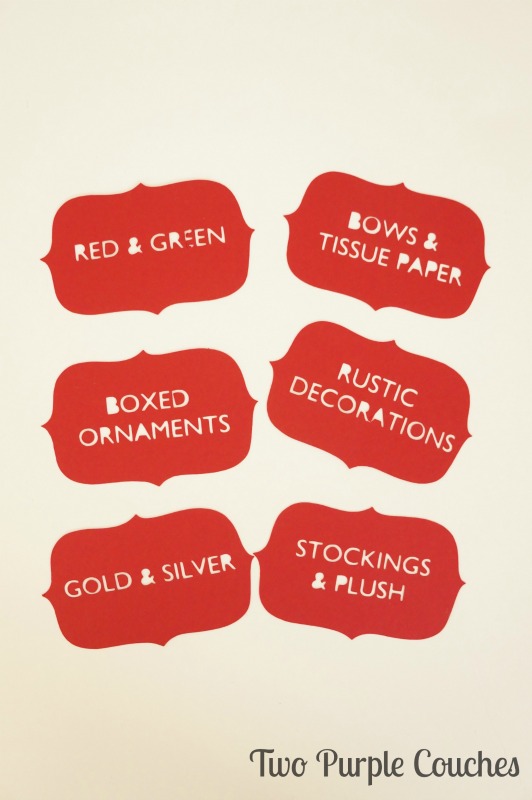
Ya’ll know I like simple. And it just doesn’t get much simpler than these DIY holiday storage labels!
As I work my way through our home, I’ve learned that organization doesn’t have to be complicated. It can sound like a daunting task that will take you endless hours to complete, but it doesn’t have to be that way!
I like to have a place for everything and everything in its place. And I also like to move quickly through these chores. Hence I’ve found that I’m getting good at creating the Simplest Organizational Labels Ever.
Holiday decoration organizing is no different!
I made these holiday storage labels with my Silhouette Cameo, but if you’ve got card stock or construction paper, you’ve got what you need to make your own set of labels!
After unpacking our Christmas decorations back in November, I knew I needed to create a better storage system when I went to pack them back up this month. My decorations tend to run the gamut of styles, from rustic to glam, and colors, from metallics to classic reds and greens. Every January, I re-pack by cramming as much as possible back into storage bins. You can see how after a few years, this system doesn’t work so well.
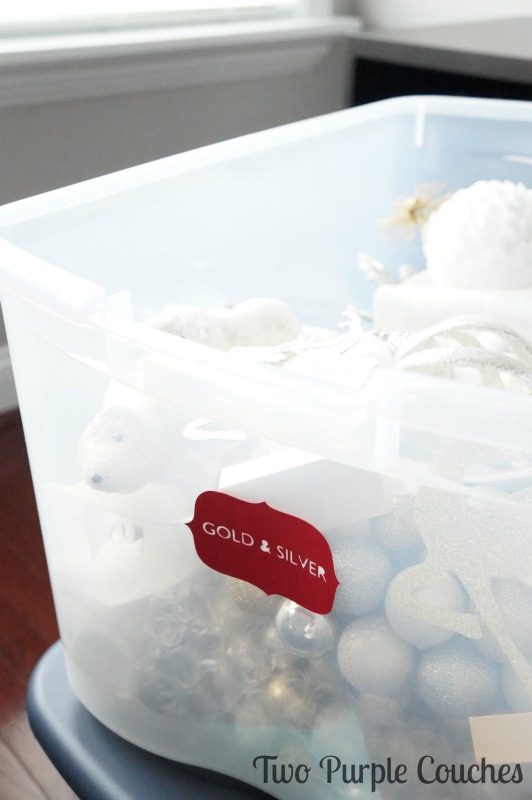
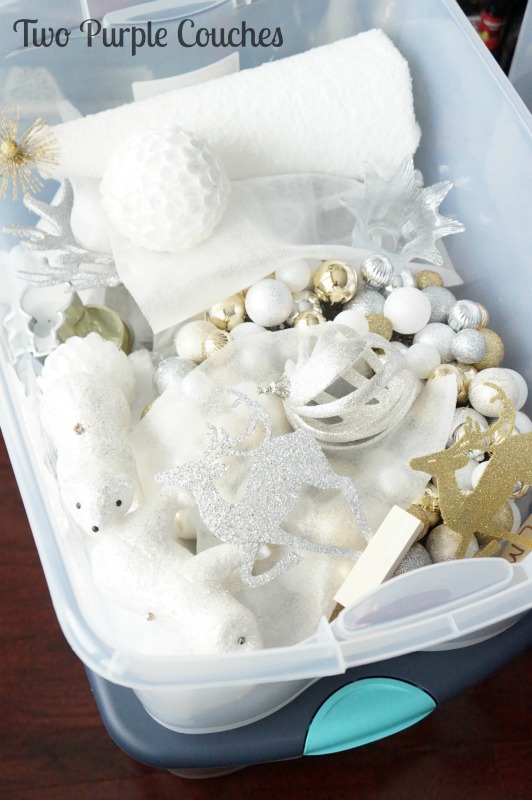
So this year, I’m doing things differently: packing like items and color palettes together. For instance: all of my sparkly, glam metallics are now cozied up together in one Gold & Silver bin.
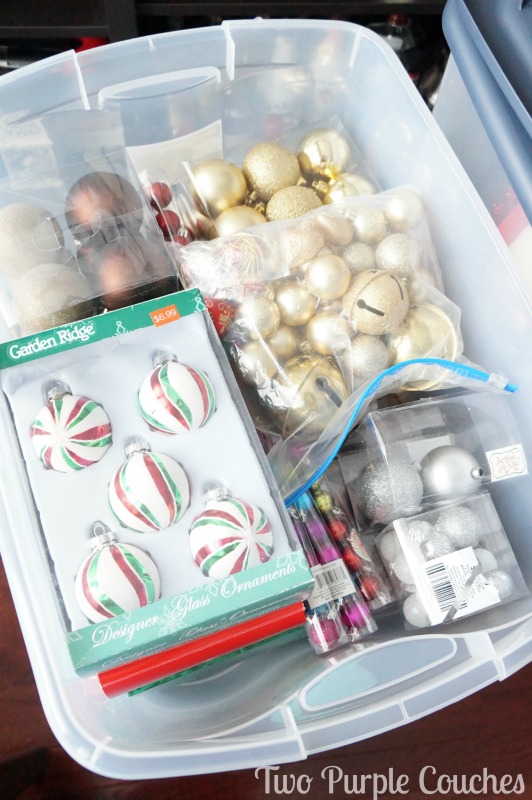
I also have a lot of colorful boxed ornaments that I use to fill vases, bowls, sleds, you name it. And they’re never been together in one place… until now (wink).
But that all ends this year! With a new approach and these simple labels, I’ll be able to find exactly what I need in no time!
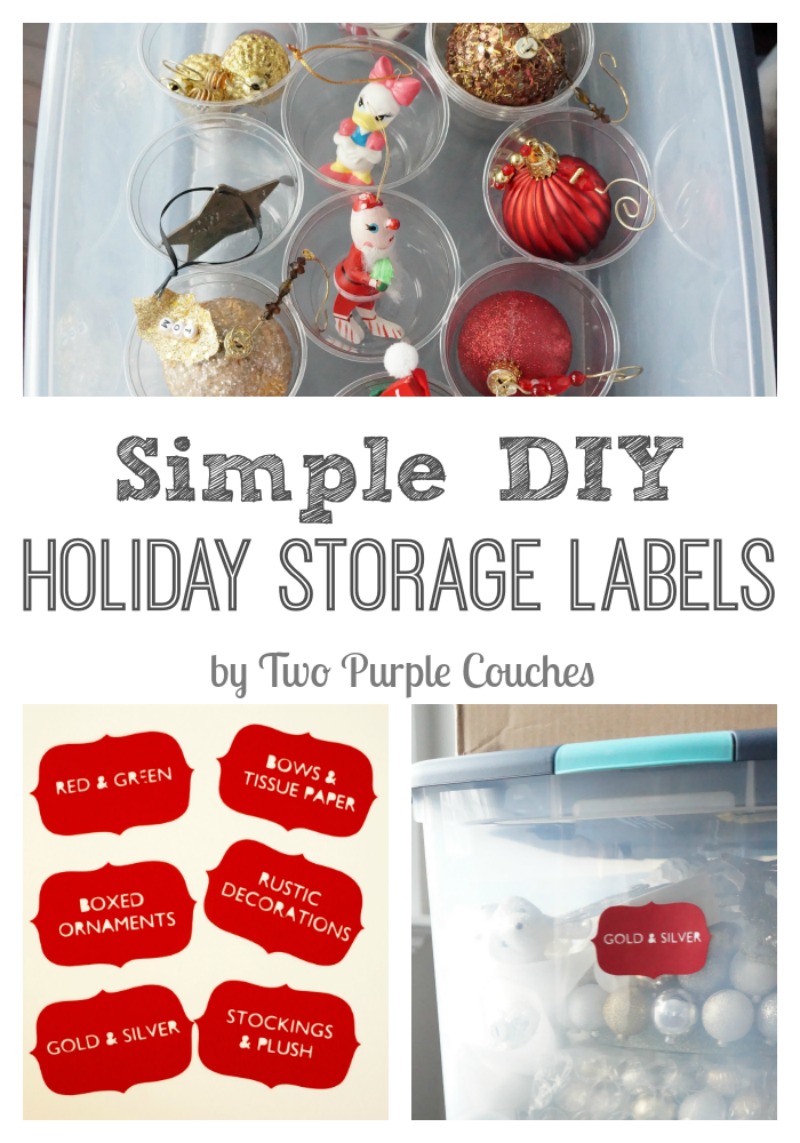
Oh, and I’ve got a great tip to pass along for storing ornaments. We have a lot of irregularly-shaped ornaments that didn’t come in boxes. We used to layer them between tissue paper and stack them in boxes, but this new method is sooo much easier.
Have I teased you enough? Do you want me to spill the beans?
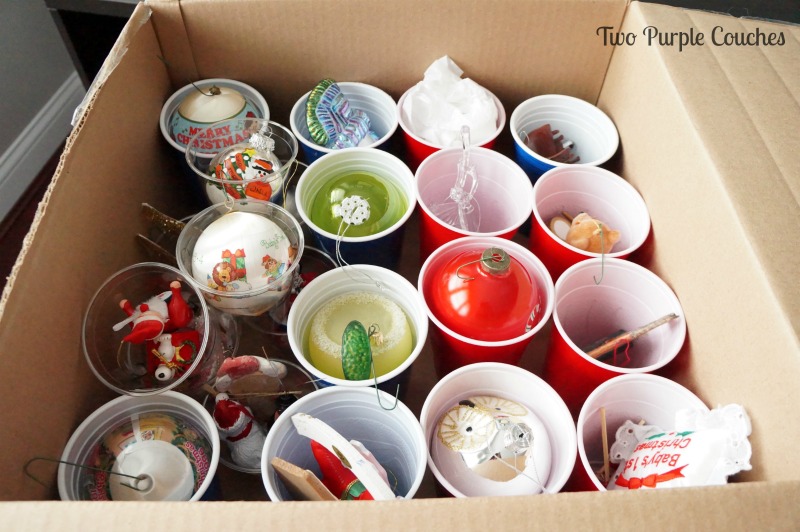
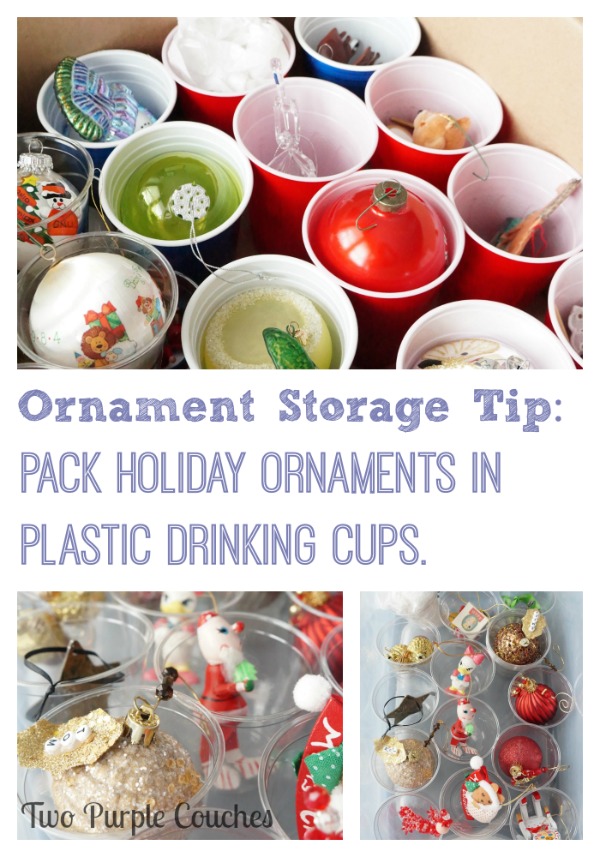
We store our ornaments in plastic cups! Yep, you read that right!
I gave this method a shot last Christmas and it works perfectly. My uniquely-shaped ornaments fit perfectly inside each plastic cup, plus I don’t have to worry about heavy ornaments crushing lighter ones between layers of tissue paper.
In case you haven’t guessed already, today is the 2nd Monday of the month, which means… there’s a Silhouette Challenge happening today! And we’re coming to you with TONS of organizing inspiration! So go ahead: hop around and soak up some great ideas to keep things clean, organized and on-schedule this year!
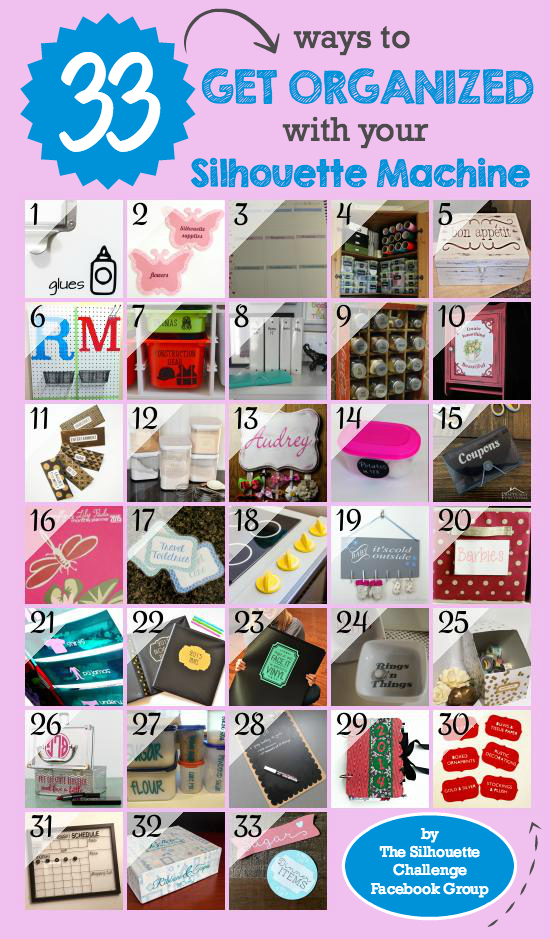
1. Please Excuse My Craftermath… // 2. Simply Kelly Designs // 3. Daily Dwelling // 4. Ginger Snap Crafts // 5. Our Southern Home // 6. Sowdering About // 7. The Moberg Family // 8. Decor Adventures // 9. Pineapples and Pinecones // 10. Patina Paradise // 11. The Thinking Closet // 12. It Happens in a Blink // 13. Adventures in All Things Food // 14. From Wine to Whine // 15. Practically Functional // 16. Dragonfly & Lily Pads // 17. unOriginal Mom // 18. One Dog Woof // 19. Creative Ramblings // 20. My Favorite Finds // 21. Create it. Go! // 22. A Prudent Life // 23. Where The Smiles Have Been // 24. Barb's Life // 25. Everyday Paper // 26. Pitter and Glink // 27. Peanut Life Adventures // 28. Feto Soap Blog // 29. Our Rosey Life // 30. Two Purple Couches // 31. My Paper Craze // 32. TitiCrafty // 33. Lil Mrs Tori

Pingback: Flour and Sugar Pantry Organization Labels: A Silhouette Project
Pingback: Customize Your Erin Condren Life Planner Weekly Layout
Pingback: Ribbons & Tapes Upcycled Organizing Box - Titicrafty by Camila
Pingback: From Wine to Whine – Organize your refrigerator
Pingback: Organizing With Icons
Pingback: Christmas Card Memory Book {Silhouette Project} | Our Rosey Life
I’m pinning your storage tip! We wrap our special ones in paper and they have survived so far but I like your method! Thanks Emily!
Kelly Hedgespeth of Simply Kelly Designs recently posted…DIY Butterfly Labels For IKEA BRANÄS Rattan Basket
Thanks Kelly! I layered ours between tissue paper for years. I like that they can’t roll all over the place this way!
Pingback: How to make a Chalkboard Clipboard | feto soap blog
Pingback: DIY Cash Budget Envelopes: Free Printable — the thinking closet
Pingback: Weekly Menu Box - Our Southern Home
Pingback: Free Print and Cut Pantry Labels
Pingback: My Paper Craze DIY Vinyl Frame Calendar with {FREE CUT FILE} - My Paper Craze
Oh man i love all these tips. We still are trying to pack away christmas decorations. I think I need these labels!
katie recently posted…5 Ways to Prepare for Cold & Flu Season
Thanks Katie! It takes forever to pack everything away, doesn’t it? I’m glad I finally buckled down and made labels this year, I think they’ll be a huge help next holiday season!
Pingback: A Fun Way to Label Binders - Decor Adventures
Emily ~ Your Christmas labels and organization ideas are fantastic! I’ve never seen cups used to store ornaments and it’s genius! I shared your ideas today, so more people can use them too.
Michele @ Our Rosey Life recently posted…Christmas Card Memory Book {Silhouette Project}
Thank you, Michele! I can’t remember if I first saw the idea somewhere, or if it just came to me, but it’s one of those life hacks I wish I’d known about years ago! Thanks for the love and shares 🙂
The holiday storage labels are so cute! I really like them! Thumbs up! Great job!
Pingback: Free Print and Cut Pantry Labels | Tori Grant Designs
Pingback: DIY Butterfly Labels For IKEA BRANÄS Rattan Basket » Simply Kelly Designs
Pingback: Cute Gold Binder Labels {2015 Organization} - Polished Habitat