Today I’m sharing the last DIY letter from my C-R-E-A-T-E craft room wall art – this easy fabric covered letter. There is something about the “upholstered” look of fabric covered letters that I love. I’m always tempted to buy them when I see them, but knowing how easy they are to make, I don’t think I’ll ever be tempted again!
This is a great no-sew project—these fabric covered letters are assembled with hot glue and a glue gun! And depending on how “puffy” you’d like your finished letter to look, you can layer more batting together.
Here’s what you’ll need to make one:

- dimensional letter that’s somewhat sturdy (mine is chipboard; wood or thick cardboard would work, too)
- cotton batting
- fabric
- hot glue gun & glue sticks
- fabric scissors
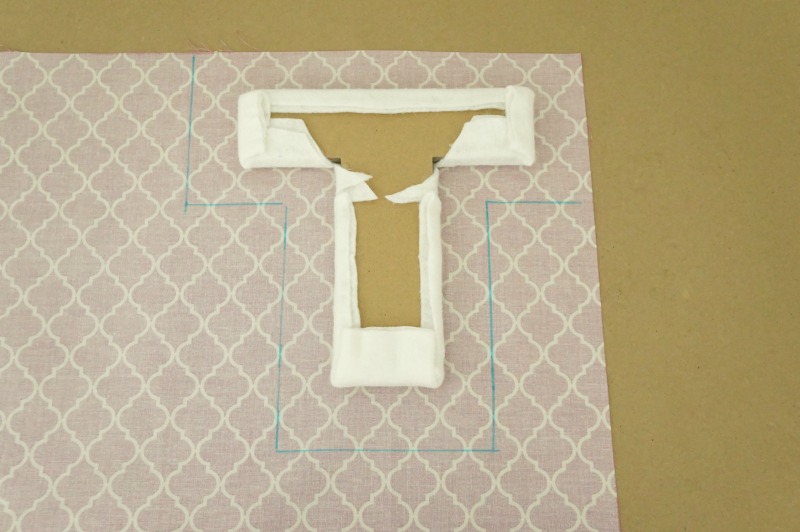
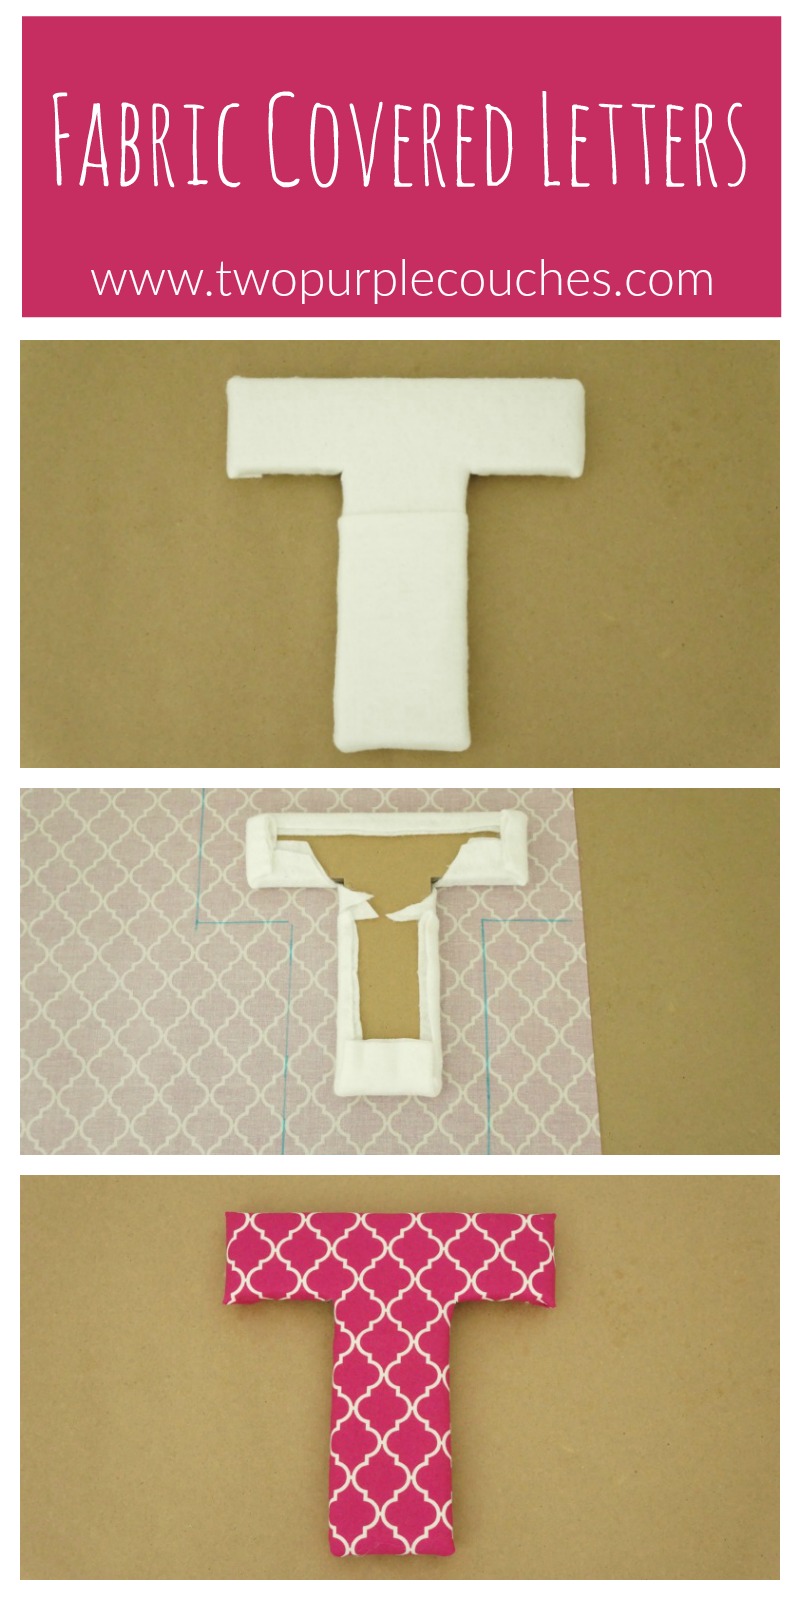
Begin by cutting your batting to fit your letter. I purposefully chose the letter “T” to be my fabric covered letter because it’s a pretty simple shape to work around 😉 I started by covering the top horizontal section of the “T”, then doing the vertical part.
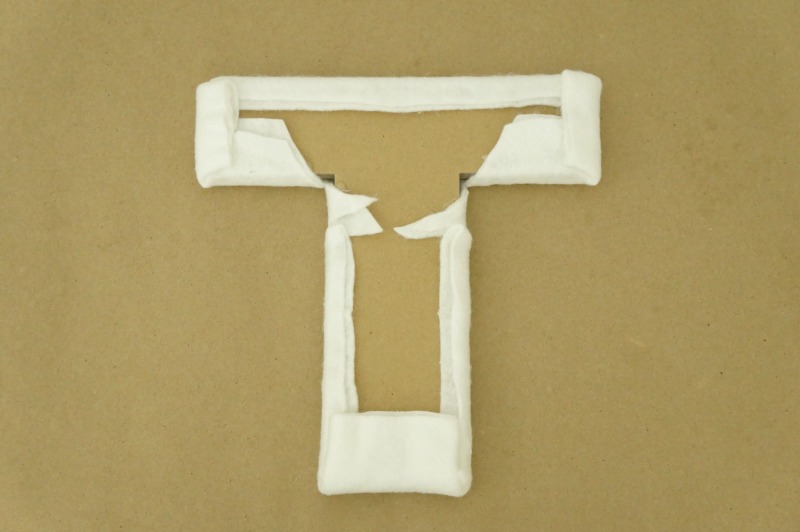
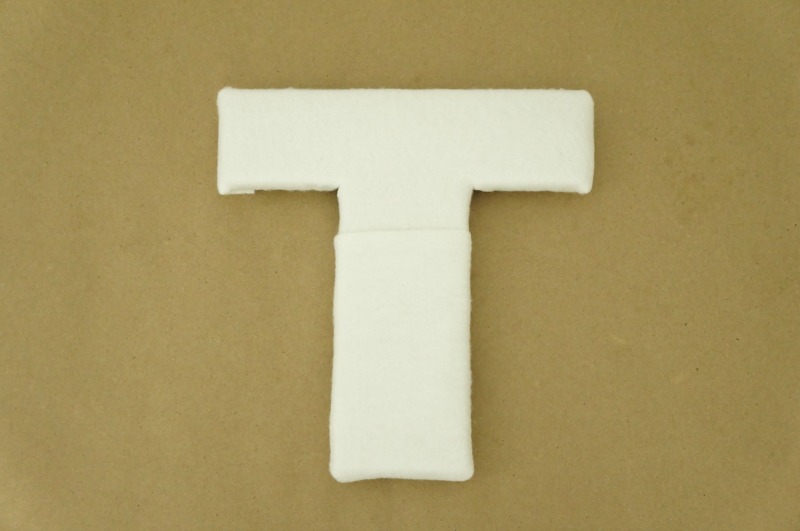
Fold the batting over to the back and secure with hot glue. Trim the sides and fold in as if you were wrapping a gift. This will keep the sides and corners from getting too bunched up. This is what the front of the letter should look like. Mine has a “seam” in the middle of the letter because I was using up scraps of leftover batting instead of one larger piece.
Lay the batting-covered letter down on the back side of your fabric and trace it with a fabric pen. Leave at least an inch or more so you have plenty of fabric to wrap around and secure to the back of the letter.
Cut the letter out of the fabric and begin folding and glueing like you did with the batting, until all of the sides are secured.
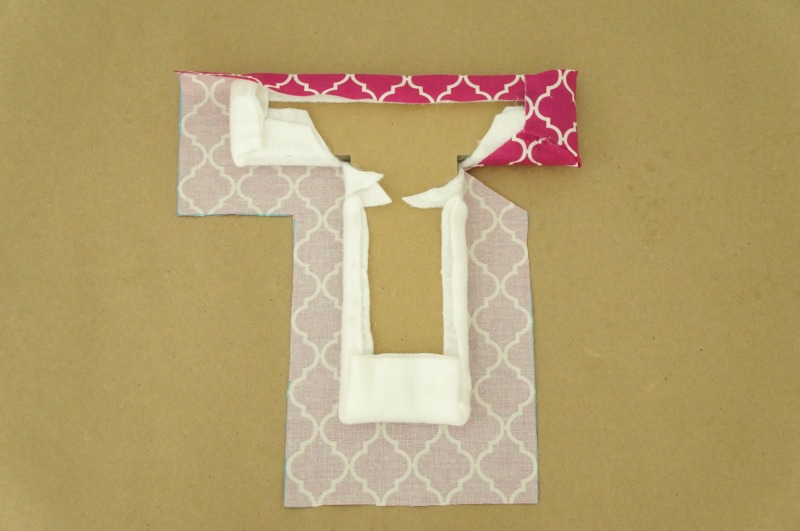
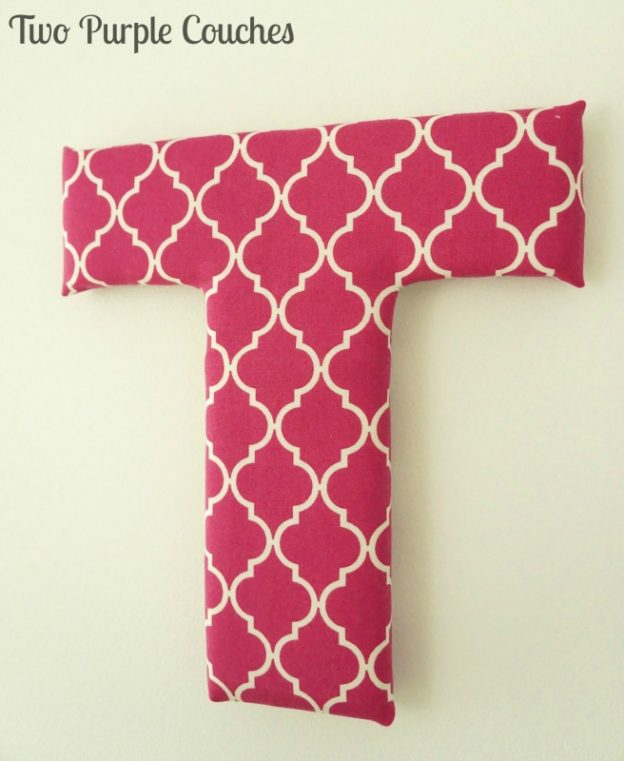
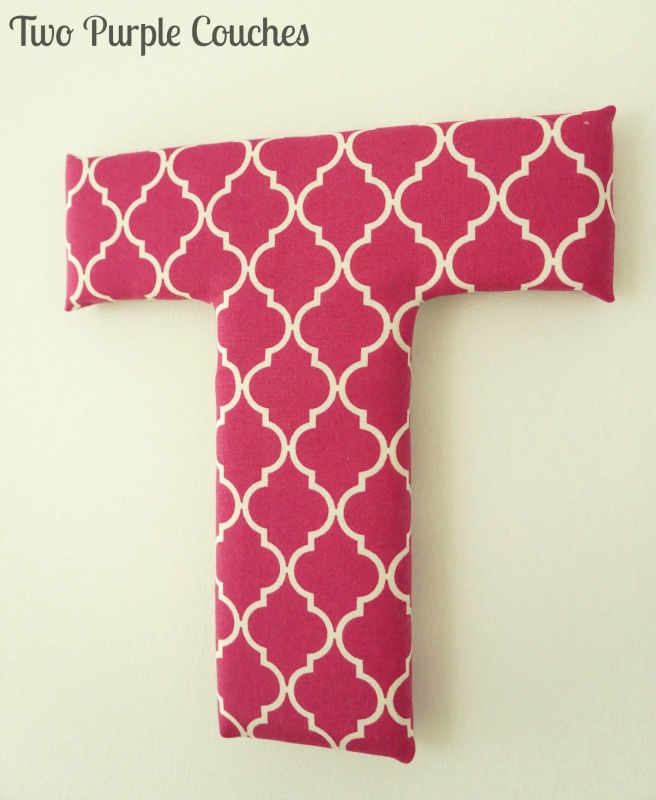
And that’s it! One other tip – if you’re using fabric with a directional print, meaning if it runs vertically or horizontally, figure out which way you’d like it to be positioned before you cut it out. This fabric could’ve gone either direction, but I liked vertical the best.

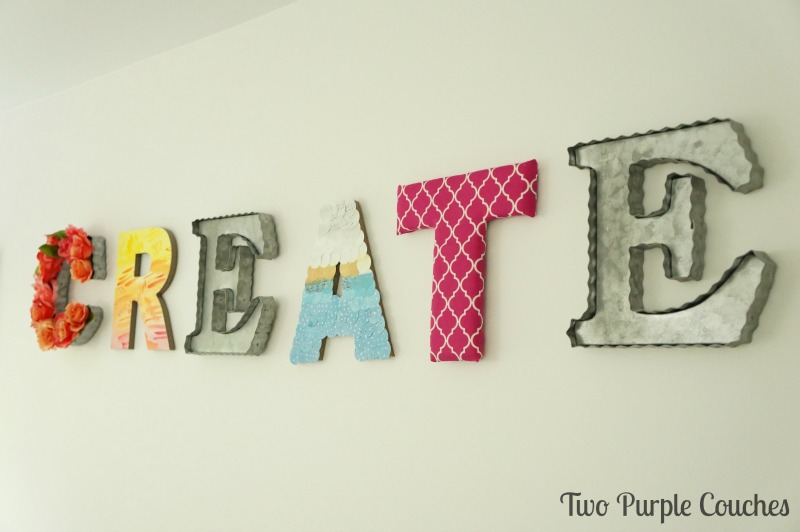
Here’s what my fabric covered letter “T” looks like hanging in my craft room:
And a wider shot of the wall:
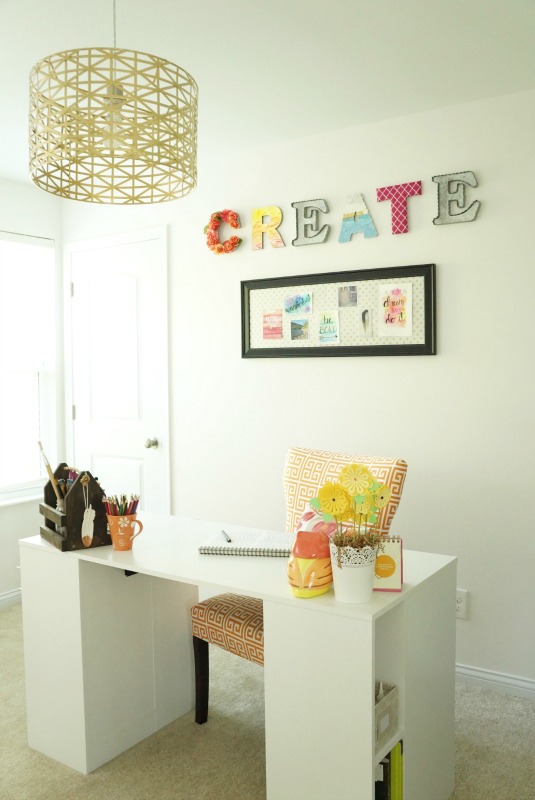
I can’t remember if I already talked about how I hung all of these letters on the wall, so if I haven’t yet, I used Command Picture Hanging Strips. Have you guys tried these yet? They are quickly becoming my go-to for hanging lightweight art and objects (like these letters) that are a little awkward to hang with hook and nail. And I’m not getting paid to say this! I have a stash of them available in our house at all times!
Can you believe that this is the last of the tutorials for those letters!? If you’d like to see the full tour of my craft room makeover, check it out here. And if you missed any of my other DIY letter tutorials, you can find them all right here:
Don’t forget to pin this for later!
So easy! I pin this. 🙂
The whole idea of different letters for the “create” is perfect. Especially when they are such different versions of creativity (loved the flowers, too).
TwoPlusCute recently posted…Colorful Serving Tray from Window Blinds
Thank you! I had so much fun creating all of these 🙂
I’ll have to keep this in mind since I have so much fabric. Great way for me to make use of my stash 🙂
Erlene A recently posted…Top 20 Frosty Finds for National Ice Cream Month
Thanks Erlene! This is definitely a great “stash-buster” kind of project!